Reclaimed Wood Flooring
Reclaimed wood flooring: Are you tired of your flooring? Does it, have the blah? Why have what everyone else have? Vinyl, carpet, even wood floors. They get dated and boring overtime. Clean, sand, stain and finish, trends come and go these days.
Have you ever thought about installing reclaimed flooring? Reclaimed wood floors are unique, timeless and far from boring.
Benefits of Reclaimed Wood Flooring
Here are numbers of benefits for installing reclaimed wood flooring.
- Unique - These hardwood floors are one-of-a-kind, literally. No matter how many reclaimed floors, we have installed. There is not two that are the same, ever. Each board is special, unusual and remarkable in it's own way. A unique look and feel.
- Durable - Yes durable, it maybe old, but it can still withstand abuse like new hardwood flooring.
- Sustainable - No new trees are harvested and our landfills do not get filled up with waste.
- History - Depending, where it was salvaged from. Some reclaimed flooring are full of history.
- Timeless - The look never gets old. It's not a trend that comes and go. 20 to 30 years from now. Homeowners will still be seeking out to install reclaimed flooring in their homes.
- Flaws are characters - This is what makes it so special. Instead of sorting out flaws, you are wondering where to showcase it.
- Made in the USA - Lumber is harvested from old buildings, mills, barns here locally. Local mills salvage and process the boards here in the states.
So, you don't need to have, what everyone else have, for flooring. Get reclaimed wood flooring for it's unique and timeless look.
Reclaimed wood Flooring: What you should know before you begin
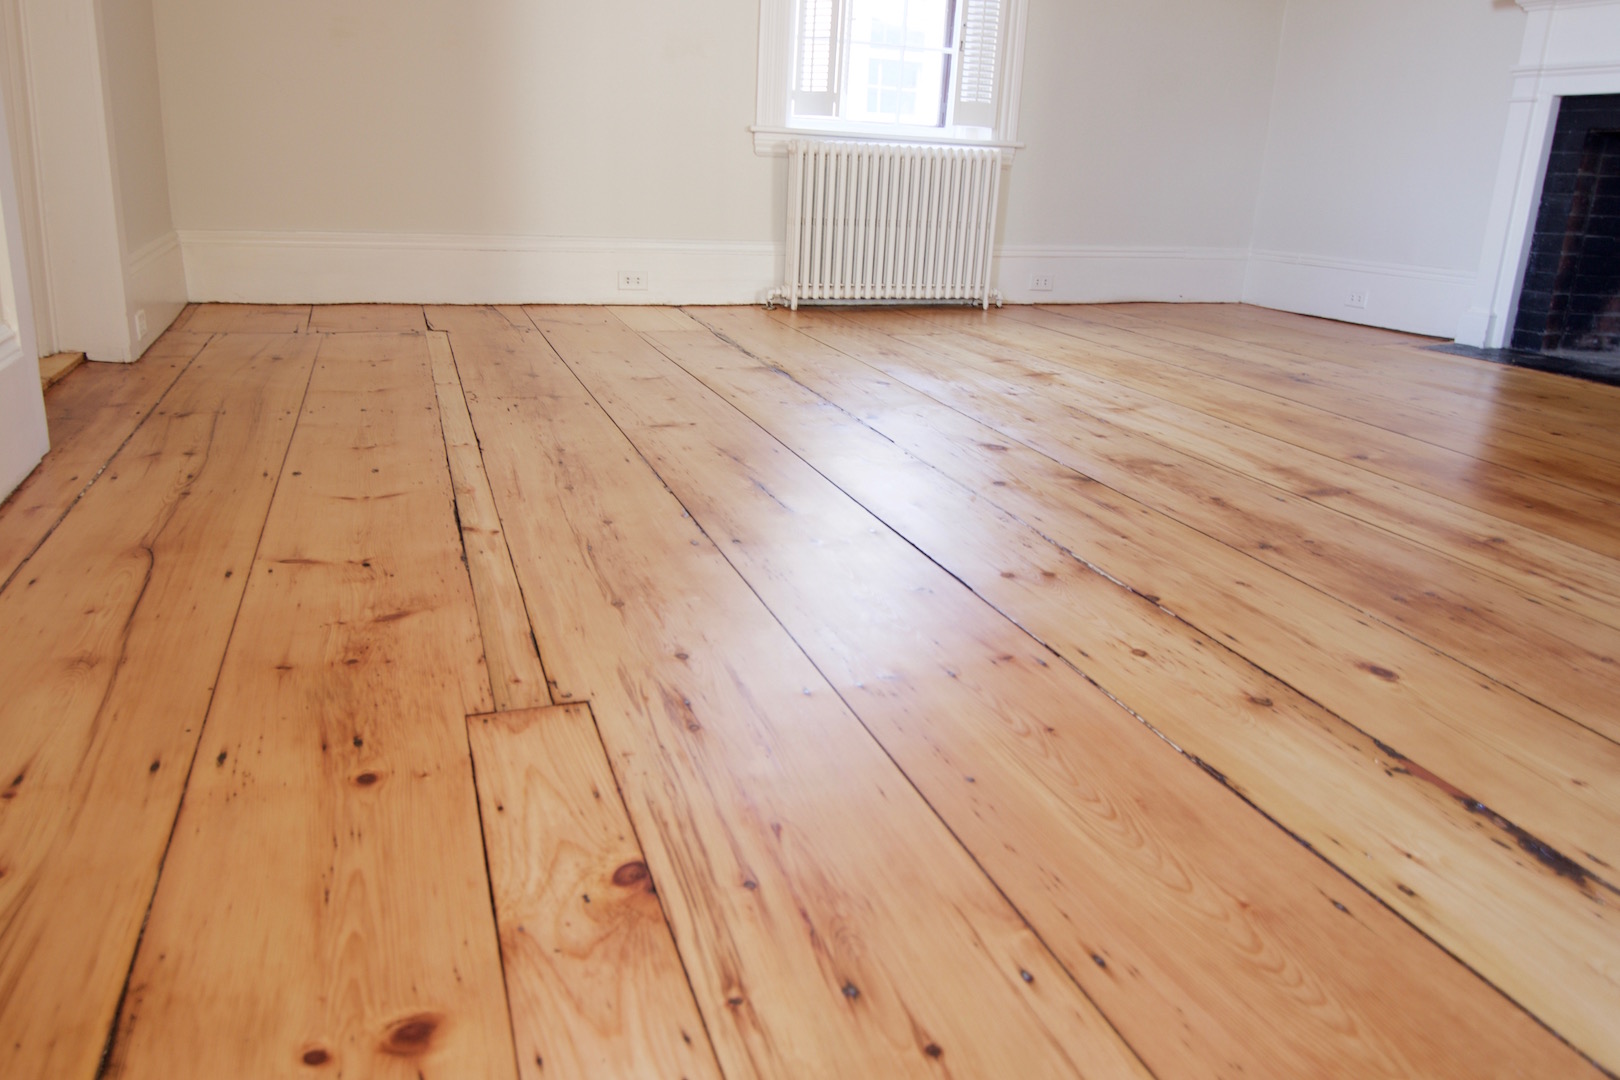 Pumpkin Pine topcoat with Pallman's Magic Oil Marblehead, Ma.
Installing reclaimed hardwood flooring or antique flooring. Reclaimed flooring is usually associated with wide plank flooring. Whether it is installed as a single width or random width, for the most part it will always be wide planks. So, when you are installing reclaimed floors. You will need to acclimate and prep the subfloor for a wide plank installation.
Flooring should be acclimated to within 2% moisture content of subfloor. Example: subfloor is 8%, wood floor can be between 6-10%, plus or minus 2%. This will help minimize shrinking and expanding. If, you can get it within 1%, even better.
Subfloor should be solid and flat within 3/16 " over 10 feet.
The best installation method over a wooden subfloor (illustrated below) is using a bond enhancer with a full spread of glue and a nail assist.
Over slabs, apply a vapor barrier and use a high shear strength flooring adhesive with the proper trowel size, replacing trowels every 700 sq. ft.
Allow a 3/4" expansion gap along the perimeter.
Reclaimed wood flooring or Antique flooring, the name says it all. They're old, yep very old, a lot of these flooring are 100 yrs or older. Reclaimed hardwood flooring has one common problem, they're very dry. So during, your reclaimed wood flooring installation, be very careful with them. You've spent a lot of money on them. You can't afford to have any go to waste. Money well spent will be going out the window.
In this article I will be covering reclaimed flooring, how to estimate material and how to install a random width pattern. The photo shown on this page is of wide plank white pine flooring. This is not reclaimed wood flooring, white pine flooring is widely used to mimic, the old rustic look like most reclaimed flooring, without having to spend tons of money.
Let's begin...
Estimating The Amount Flooring Needed
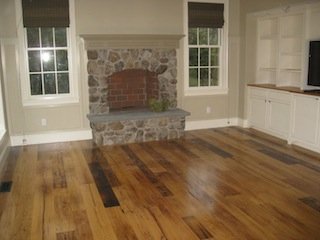 Reclaimed Chestnut hardwood flooring with 3 coats of Bona Woodline Satin - Wellesley, MA.
Same Size Width If, you will be installing the same size width. Round-up to the nearest foot, to cover for waste. When ordering your reclaimed hardwood flooring, this is the easy number to figure out.
Example: 12 1/2 x 12 1/2 = 13 x 13
Different Size Width or Random Width If, you will be installing different size width, to achieve a random width look. Estimate the percentage of each reclaimed flooring needed, then figure out the amount to a full row.
Why do you need to know this? Different width will have different linear footage per bundle, covering different amounts of sq. footage.. Your waste amount will be different for each reclaimed flooring width. We want to make sure we have a complete row of each reclaimed wood flooring width
Example: Width A, bundle consist of 80 linear feet of reclaimed wood flooring.80/13=6.15 rows. Width B, 70 linear ft. 70/13=5.38 rows Width C, 60 linear ft.60/13=4.61 rows Width D, 50 linear foot.50/13=3.85 rows They all represent 20 sq. ft. per bundle.
Here is the final adjustment you need to make when ordering your reclaimed flooring. All partial rows should be rounded-up to nearest full row. You don't want to be a foot short on any width. Reclaimed hardwood flooring take an average of 4-6 weeks to order. We don't want to hold up any project that amount of time, let's help keep the ball rolling
Example: 13x13 = 169 square ft. You will be installing 4 random widths. Divide the amount of sq. footage by the amount of width. 169/4= 42.25 (round-up to 43 sq. ft.) You'll need 43 sq. feet of each reclaimed flooring width = 25%.
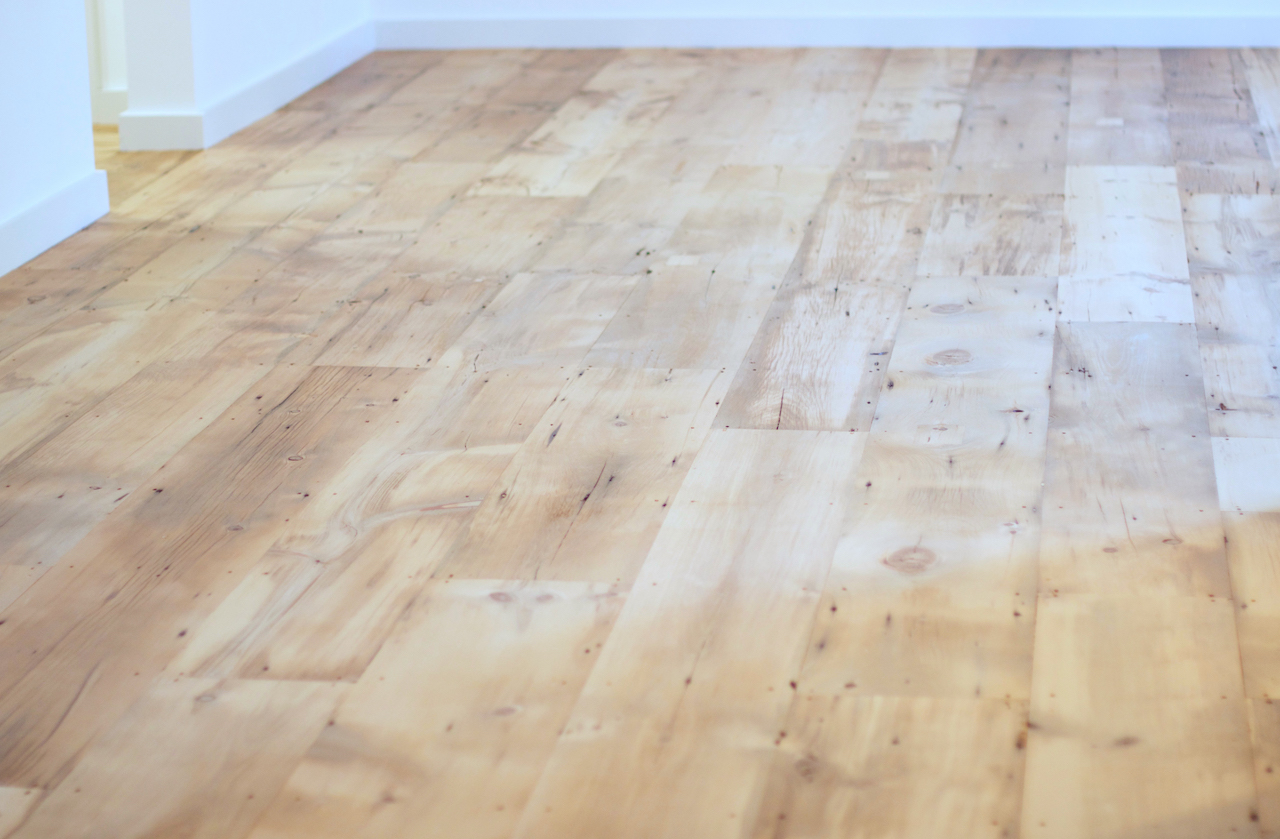 Reclaimed white pine flooring top coated with
 Loba Invisible Matte - Lexington, MA.
Referring back to the linear footage example above. We know we want 25% of reclaimed wood flooring of each size based on 13x15 room = 195 sq. ft. We will be installing our floor on the 13 foot length. Each bundle contains 20 square feet of reclaimed wood flooring. We need 3 bundles each, Width A=240 LF, Width B=210 LF, Width C=180 LF, Width D=150 LF. (LF/15=rows) Width A=18.5 rows, Width B=16.15 rows Width C=13.85 rows, Width D=11.5 rows. Let's keep in mind 60 sq. ft. x 4 equals 240 sq. ft. 45 sq.ft. of waste is a lot. At $10 per sq.ft. or more, this will add up and is a lot of money to be throwing away.
Let's tweak our numbers a little bit, before we place our antique flooring on order. Looking at the numbers that we have. Any numbers closest to a full row should be left alone. In our case this would be Width "B", with 16.15 Rows at 60 s.f. So we'll purchase this as is. Let's work on A,C and D. We'll reduce Width "A" to 2 bundles which will give us 12.30 row at 40sf. Increase "D" to 4 bundles, which will give us 15.38 rows at 80 s.f. and we'll put "C" at 2 bundles, which is 9.23 rows at 40 s.f.
So with our final square footage at 220 s.f. We've reduced our reclaimed wood flooring purchase quantity by 20 s.f. That's a $200 minimum on material, that we saved. We can probably tweak it some more, but I think you get the idea, on how to, math class has ended.
Layout, Racking and Set-ups
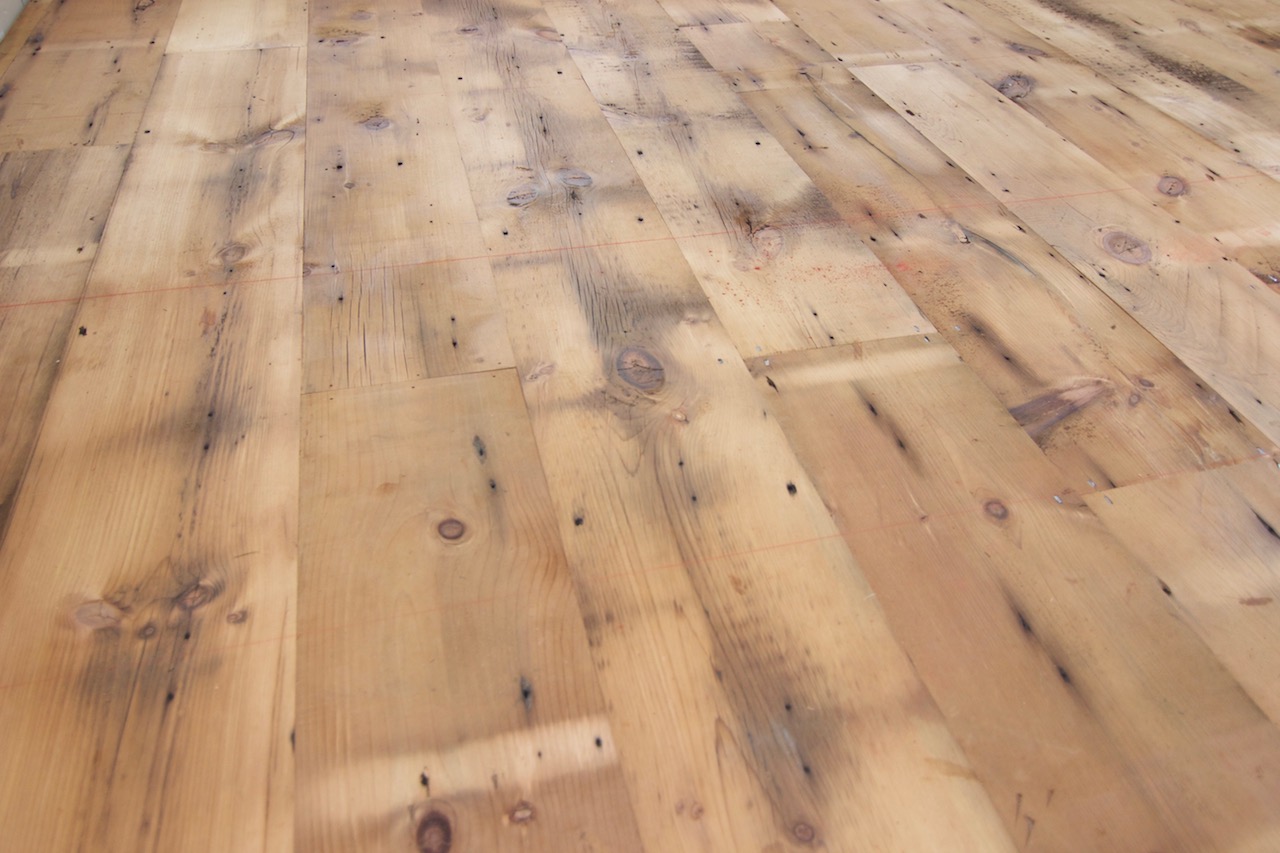 Reclaimed white pine flooring, salvaged from old beams
To reduce waste and achieve the unique look you want. Do a dry layout with your reclaimed wood flooring.
Set-up your reclaimed flooring the same way you would like a regular nail/staple down hardwood flooring. For random widths, mix in the different widths that you have, completing a row for each reclaimed flooring. If you need help, visit our staple/nail down page for instruction on set-up, then come back.
After you have performed a dry layout, of your reclaimed flooring do not perform any cuts at this time. Balance the appearance of your reclaimed hardwood flooring, move rows or pieces around. Evenly distribute the many different characters of your reclaimed flooring, throughout your space.
Don't forget about your furniture placement. If, you have limited reclaimed hardwood flooring boards with a lot of valuable characters. Save them, for areas where you can showcase it most, avoid putting them under a furniture or a rug area.
Reclaimed HardWood Flooring Installation
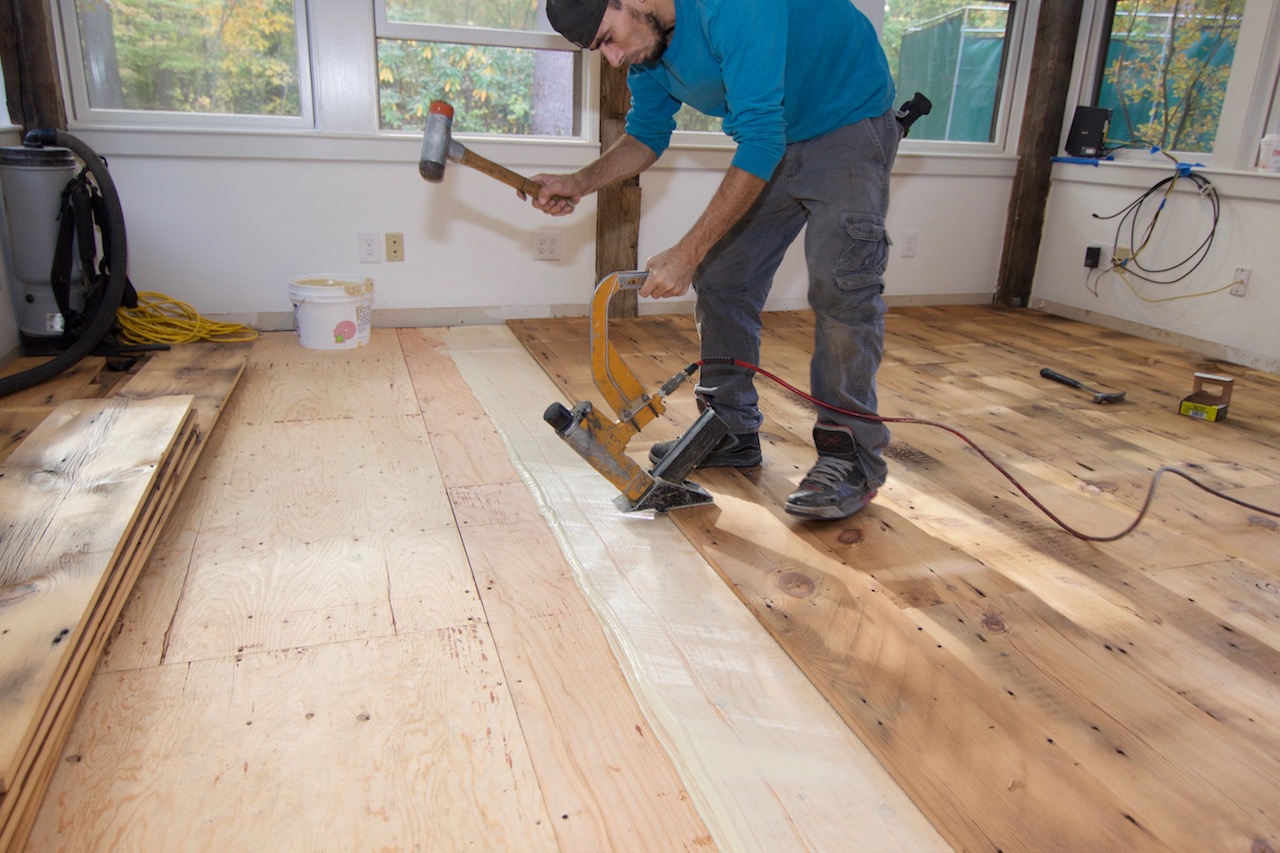 Random width, wide plank installation
Full spread glue down with nail assist installation
Wide plank Installation....
- Apply adhesive bond enhancer and allow to dry. Follow manufacturers instruction on how to apply and how much time to allow to dry.
- Snap a line along your starting row. The line should be off-set from the wall a couple rows of flooring boards.
- Apply a bead of polyurethane glue in a continuous "S" pattern on the underside of the flooring board. Then face nail the boards along the chalk line.
- Trowel on the adhesive, trowel the adhesive into a 24" section from wall to wall. Follow manufacturer's instruction for trowel size and open time for adhesive.
- Install your reclaimed flooring, stagger the end joints about 12" and avoid "H"pattern and "step" patterns
- Nail the floor boards in , using a 12-16" nailing schedule
- Repeat steps 4 to 6 until complete.
If, your floor boards have large cracks in the middle of your planks, apply glue in these areas, also. On wider reclaimed hardwood flooring, you can face nail the reclaimed flooring boards, if needed. Apply finish nails to areas, where there are a lot worm holes or knots. This way your nails, when set below, will blend in, and there won't be a need for filling them, with wood putty.
Complete your reclaimed wood flooring installation, the same way you would as a standard staple/nail down method, using these above, additional information given
Installing Square End Planks, Using 3d Cut Nails
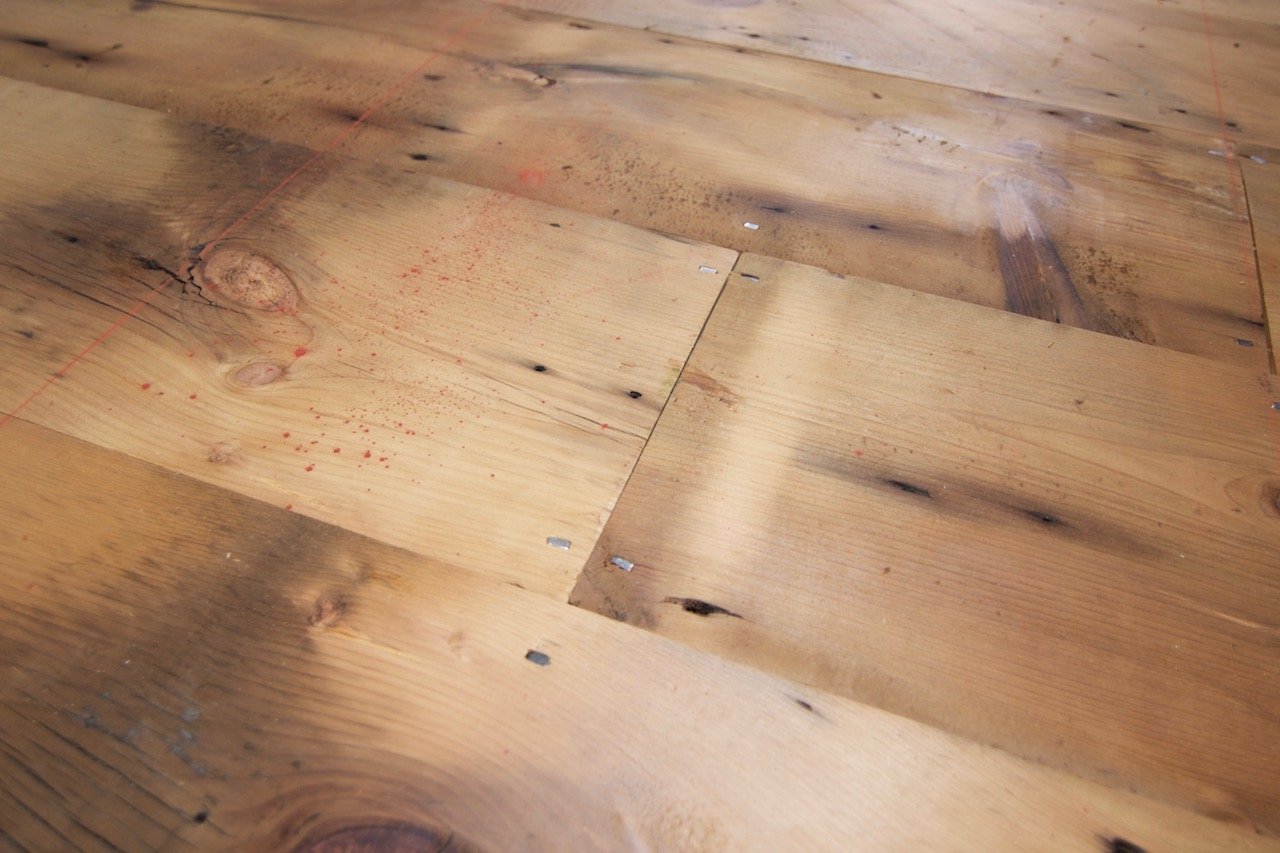 Face nailing with cut nails
Layout 1 strip of underlayment, expose enough sub-flooring, so that you can see the locations of your sub-flooring joist from the wall. Make reference lines on your underlayment paper with a pencil or chalk line, to represent the location of your sub-flooring joist. Chalk your starting line also, at this time.
Do a dry layout of your reclaimed hardwood flooring. This time cut them in place. Your cut edges must land in the middle of a joist.
Starting from your starting chalked line. Set-up about 3 feet of reclaimed flooring rows. Using 3d cut nails, face nail your first antique flooring row in place. Install a nail 1 inch in from the edge of your reclaimed hardwood flooring into the sub-flooring joist location, install 2 nails per joist.
Using 2, 8" x 12" scrap boards, cut 2 equal triangles(see image). Place both pieces in front of your last reclaimed flooring row. Fasten the outer triangle down with screws. Using a hammer, tap the triangle that's closest to the reclaimed flooring in place. This wedge system will apply pressure, tightening the joints of your square end reclaimed hardwood flooring. When the joints are tight, chalk or draw a reference line on the face of your reclaimed flooring, for nailing.
Repeat this process to complete your reclaimed flooring installation. Using the same installation procedures we spoke about, in the above article and our staple down method page.
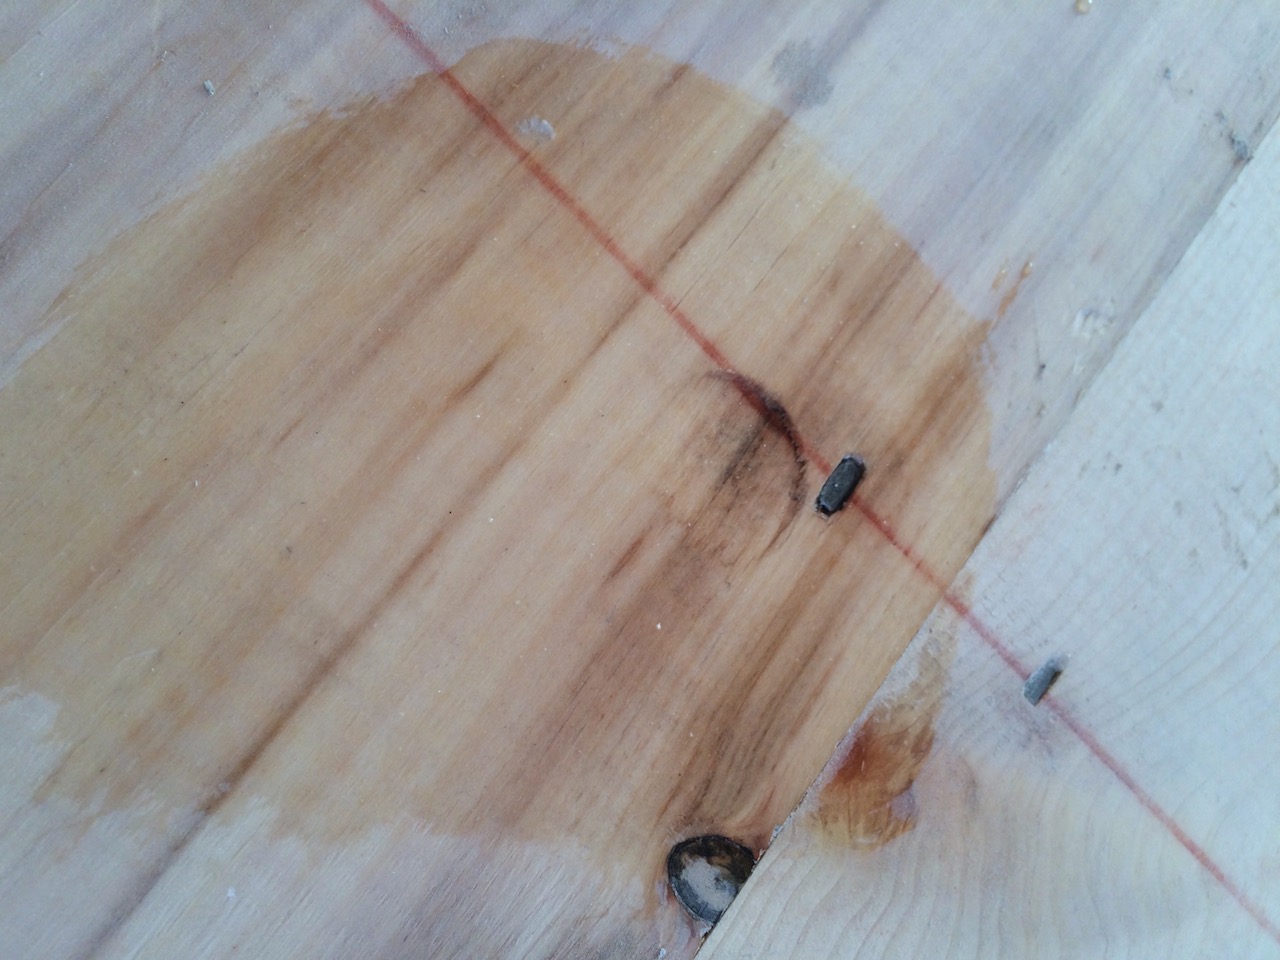 ProTip: Have a dent, add drops of water to the affected areas and let sit.
 The wood grain will slowly swell and raise.
Plugging Holes
Some antique flooring have large knot holes, that may be missing, you will need to make plugs for this area.
Determine the diameter of your plug, needed for your reclaimed hardwood flooring. Make a square strip 16-20 inch long. It could be either 3/4 x 3/4 or 3/4 x 1 depending on the size plug needed.
Using a hand planer, taper the tip of your reclaimed flooring strip, Shape the strip to look like a wedge dowel, to fit your hole or wood knot. Once, you have a snug fit, apply regular wood glue to your plug, then install it, use a hammer to tap it in . Then, use a Japanese flush cut saw or a multi tool with a flush cut attachment to trim flush to your hardwood floor surface.
Pro Tip: For, odd shaped holes, re-drill the holes, before making a plug to fit.
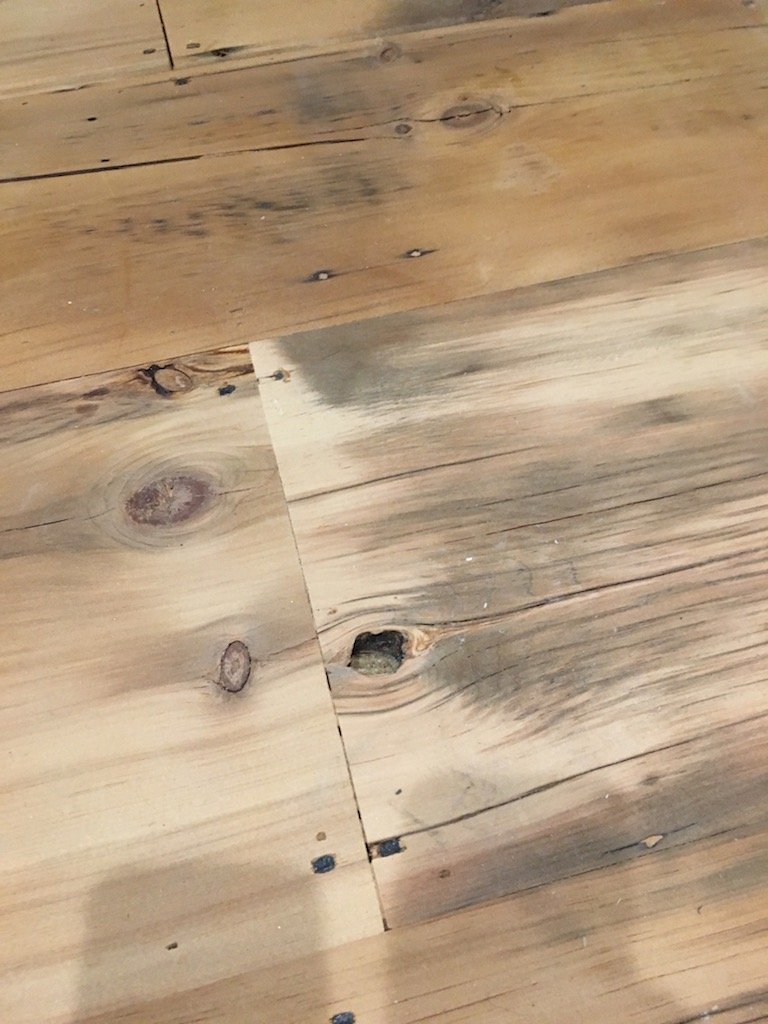 Holes or knots 3/8" or bigger should be plugged
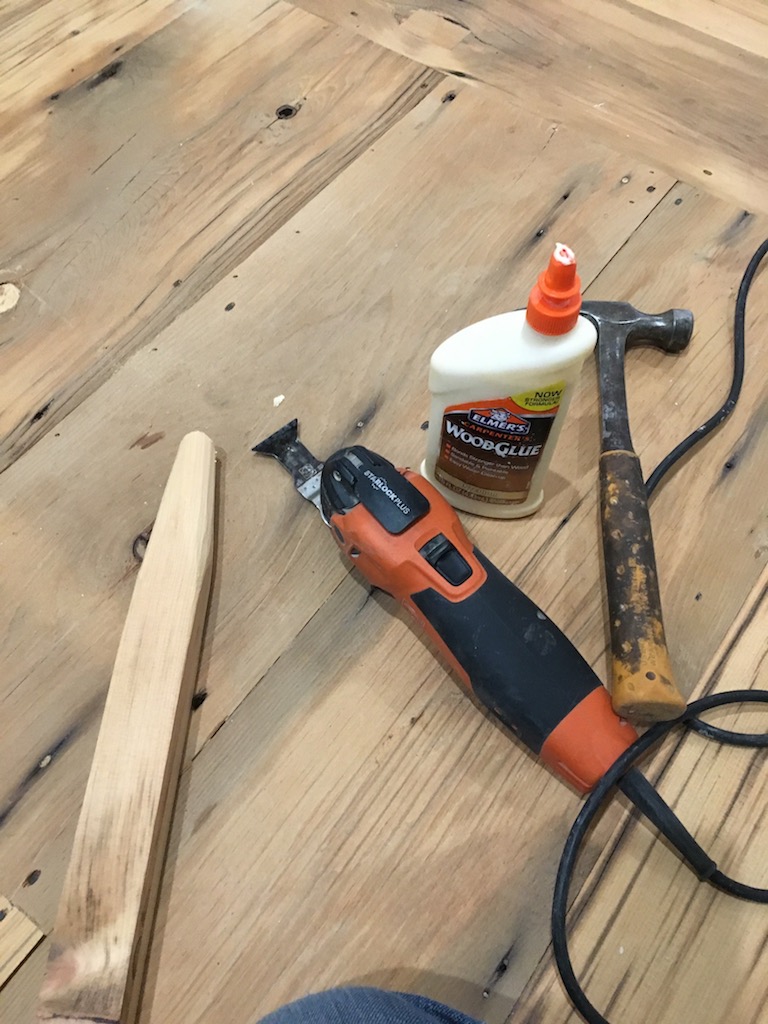 Materials needed: Wooden stake, cut off tool, glue, hammer and block planner
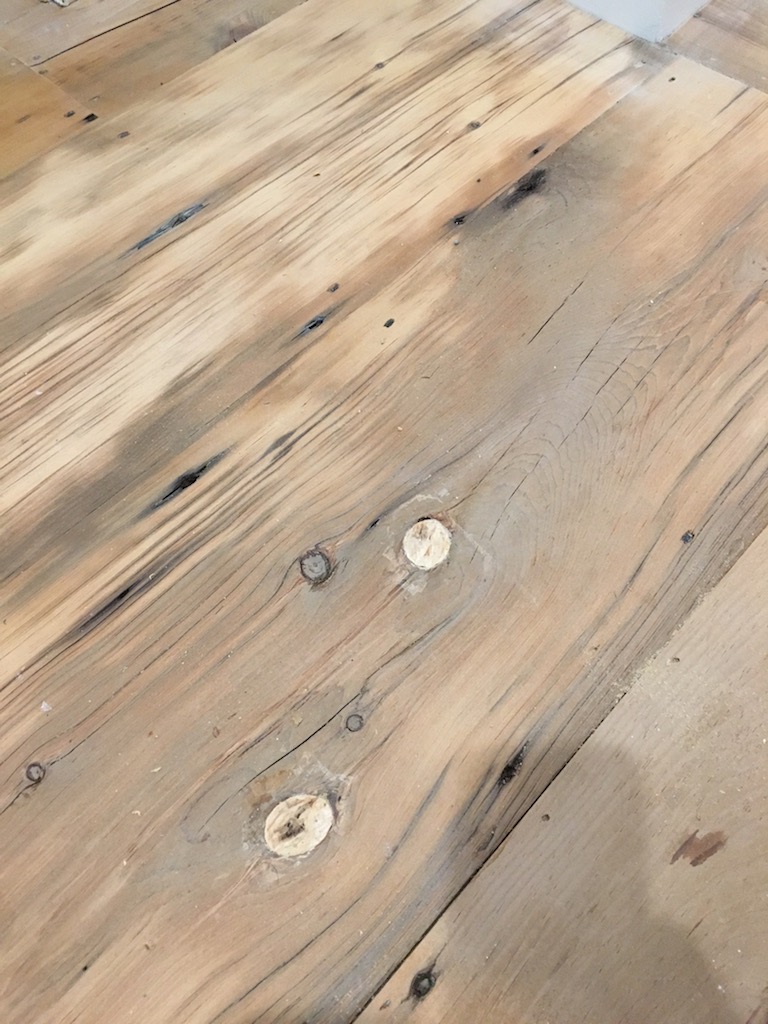 Here's what it looks like after it's been plugged.
Reclaimed Wood Flooring Images
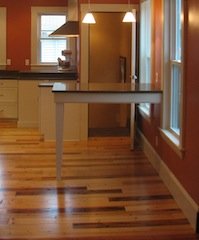 Reclaimed Spruce floor
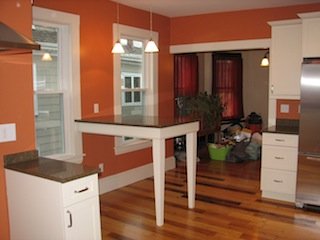 reclaimed spruce flooring
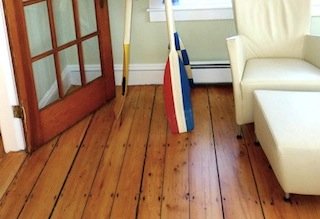 Antique pumpkin pine
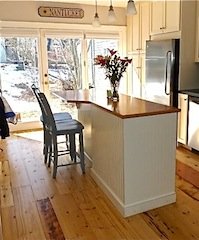 spruce flooring
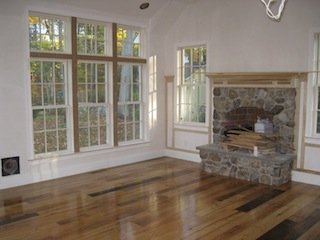 Reclaimed Chestnut hardwood flooring
 Reclaimed Chestnut hardwood flooring
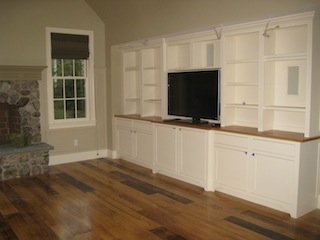 Reclaimed Chestnut hardwood flooring
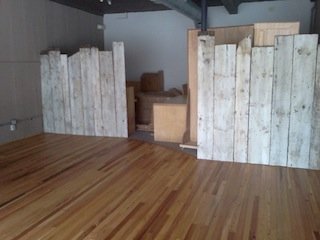 reclaimed heartpine flooring
 reclaimed heartpine flooring
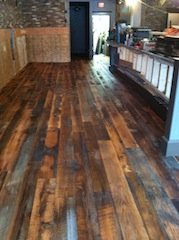 Reclaimed skipped oak flooring
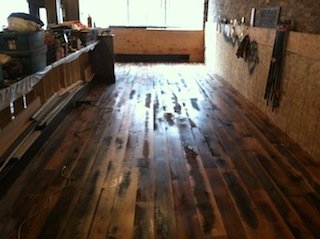 Reclaimed skipped oak flooring
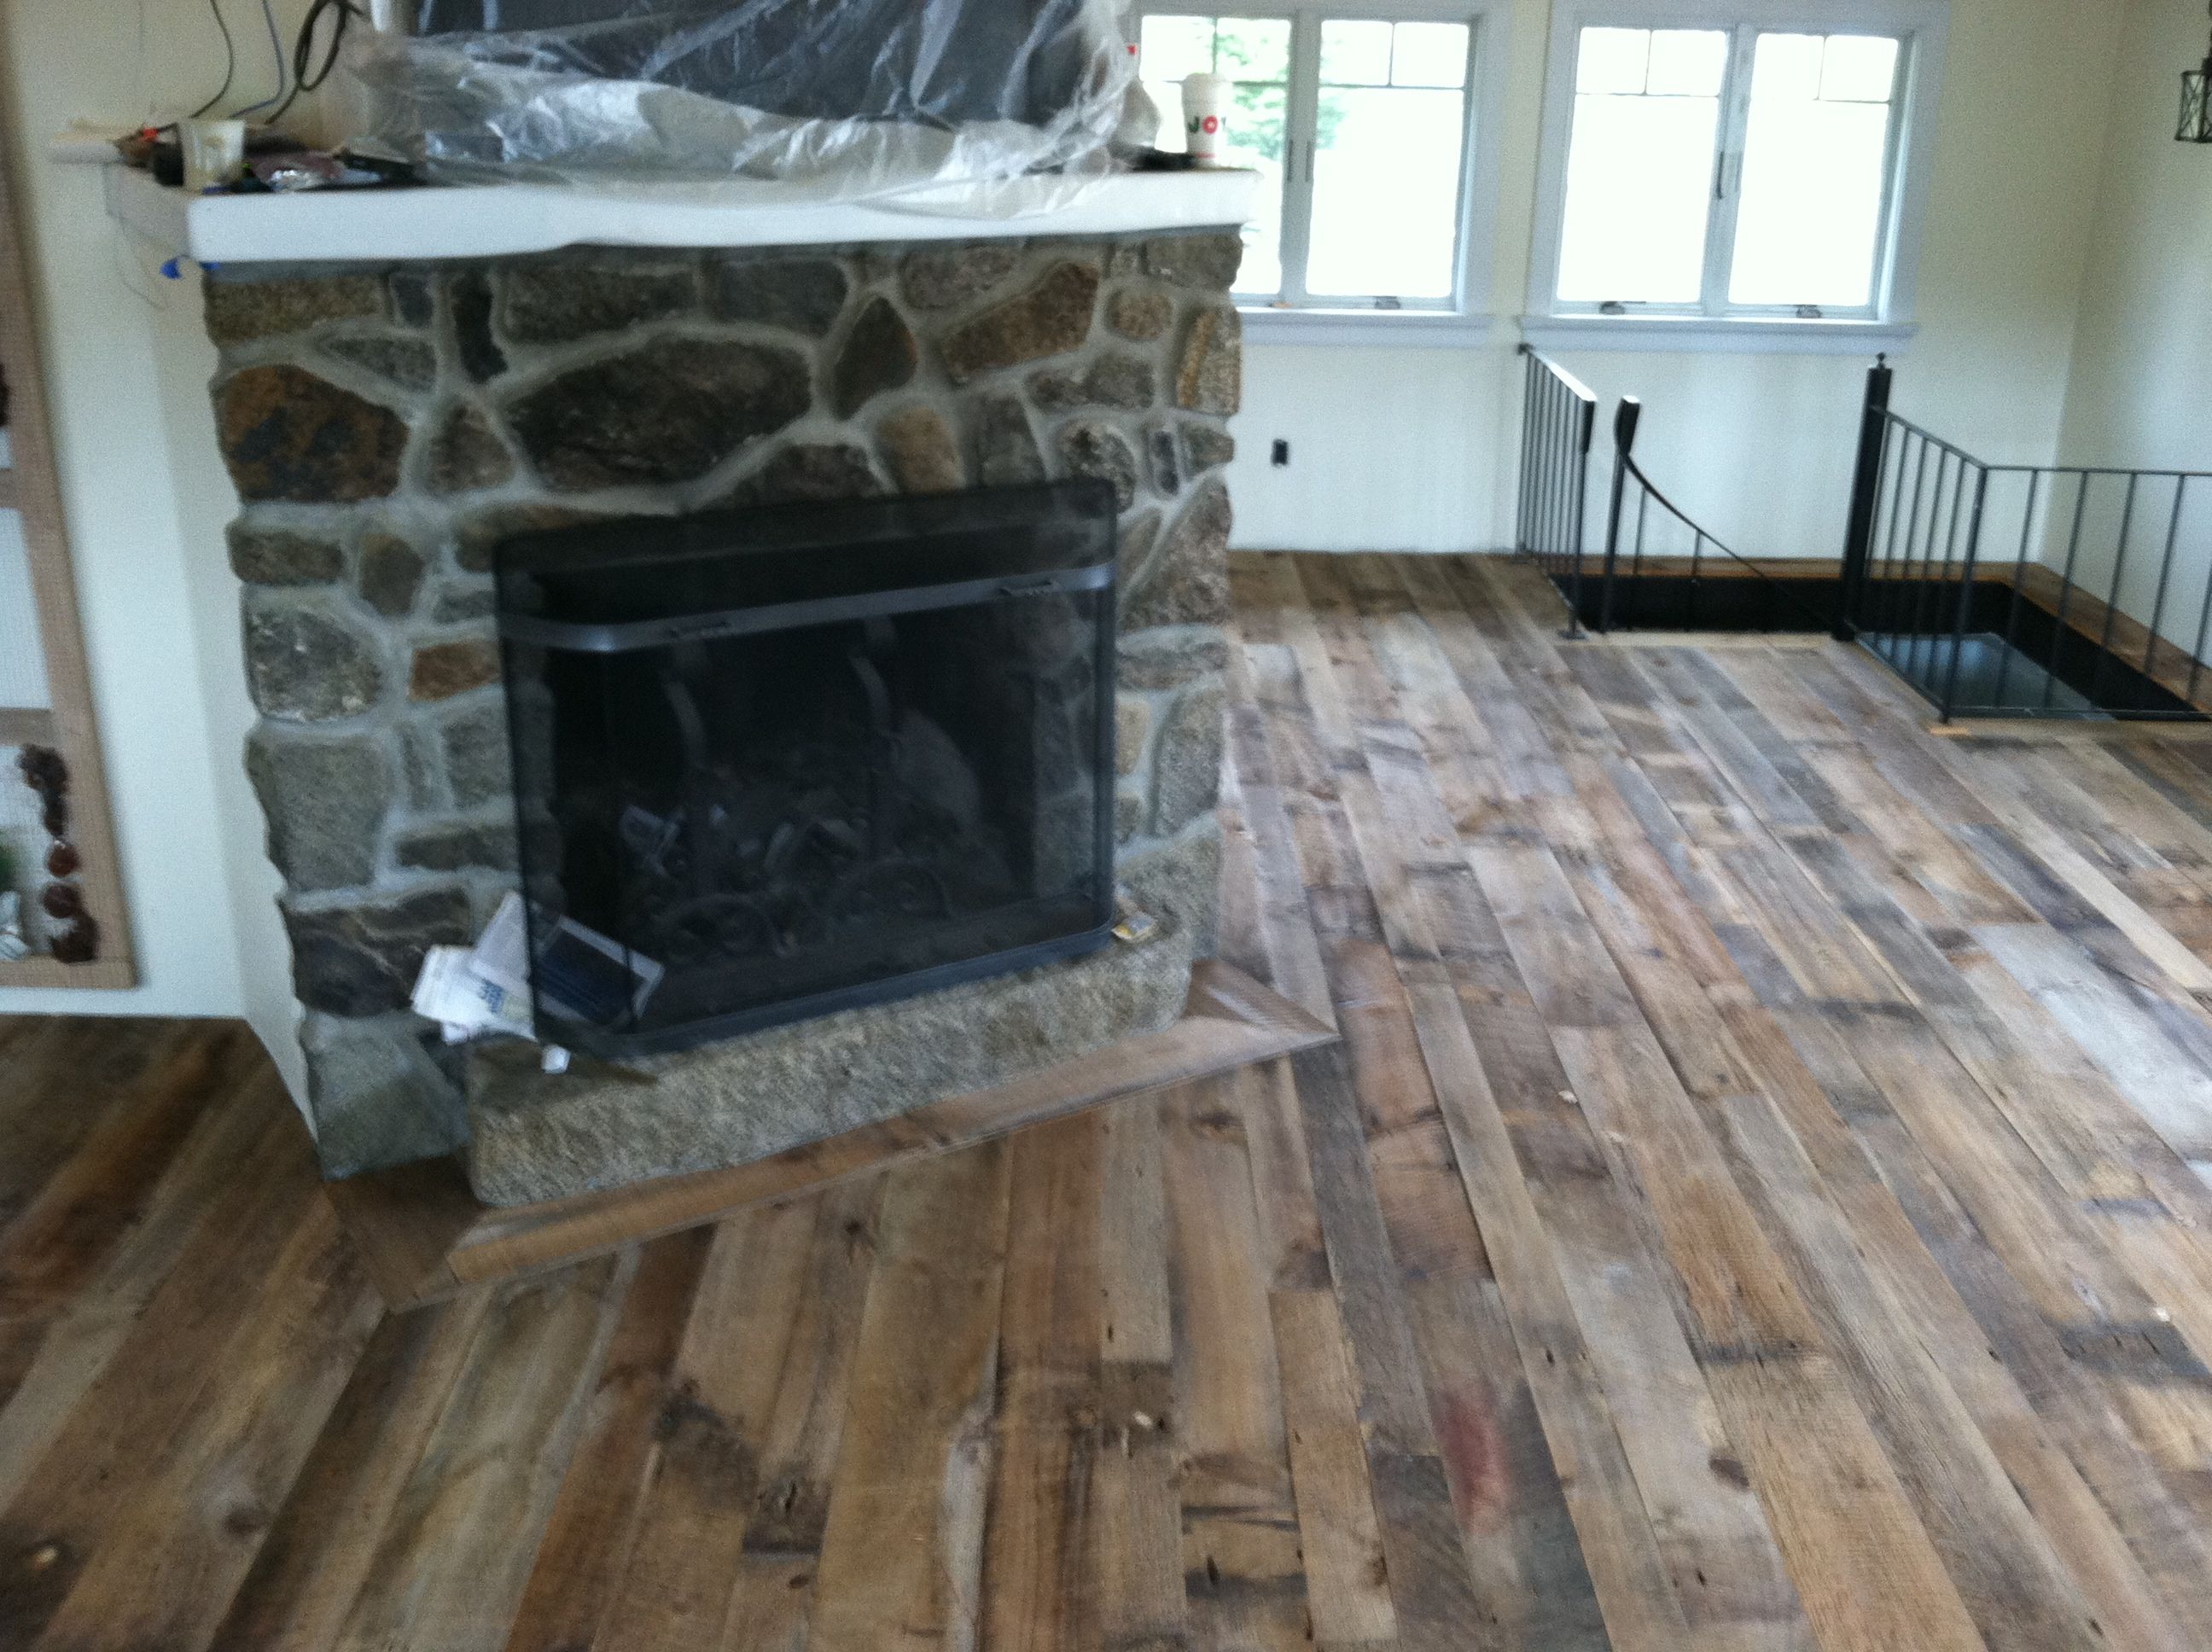 Reclaimed white wood flooring
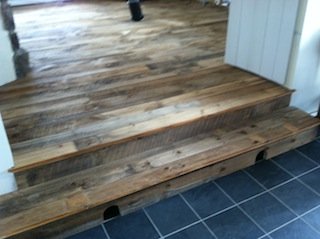 Reclaimed white wood flooring
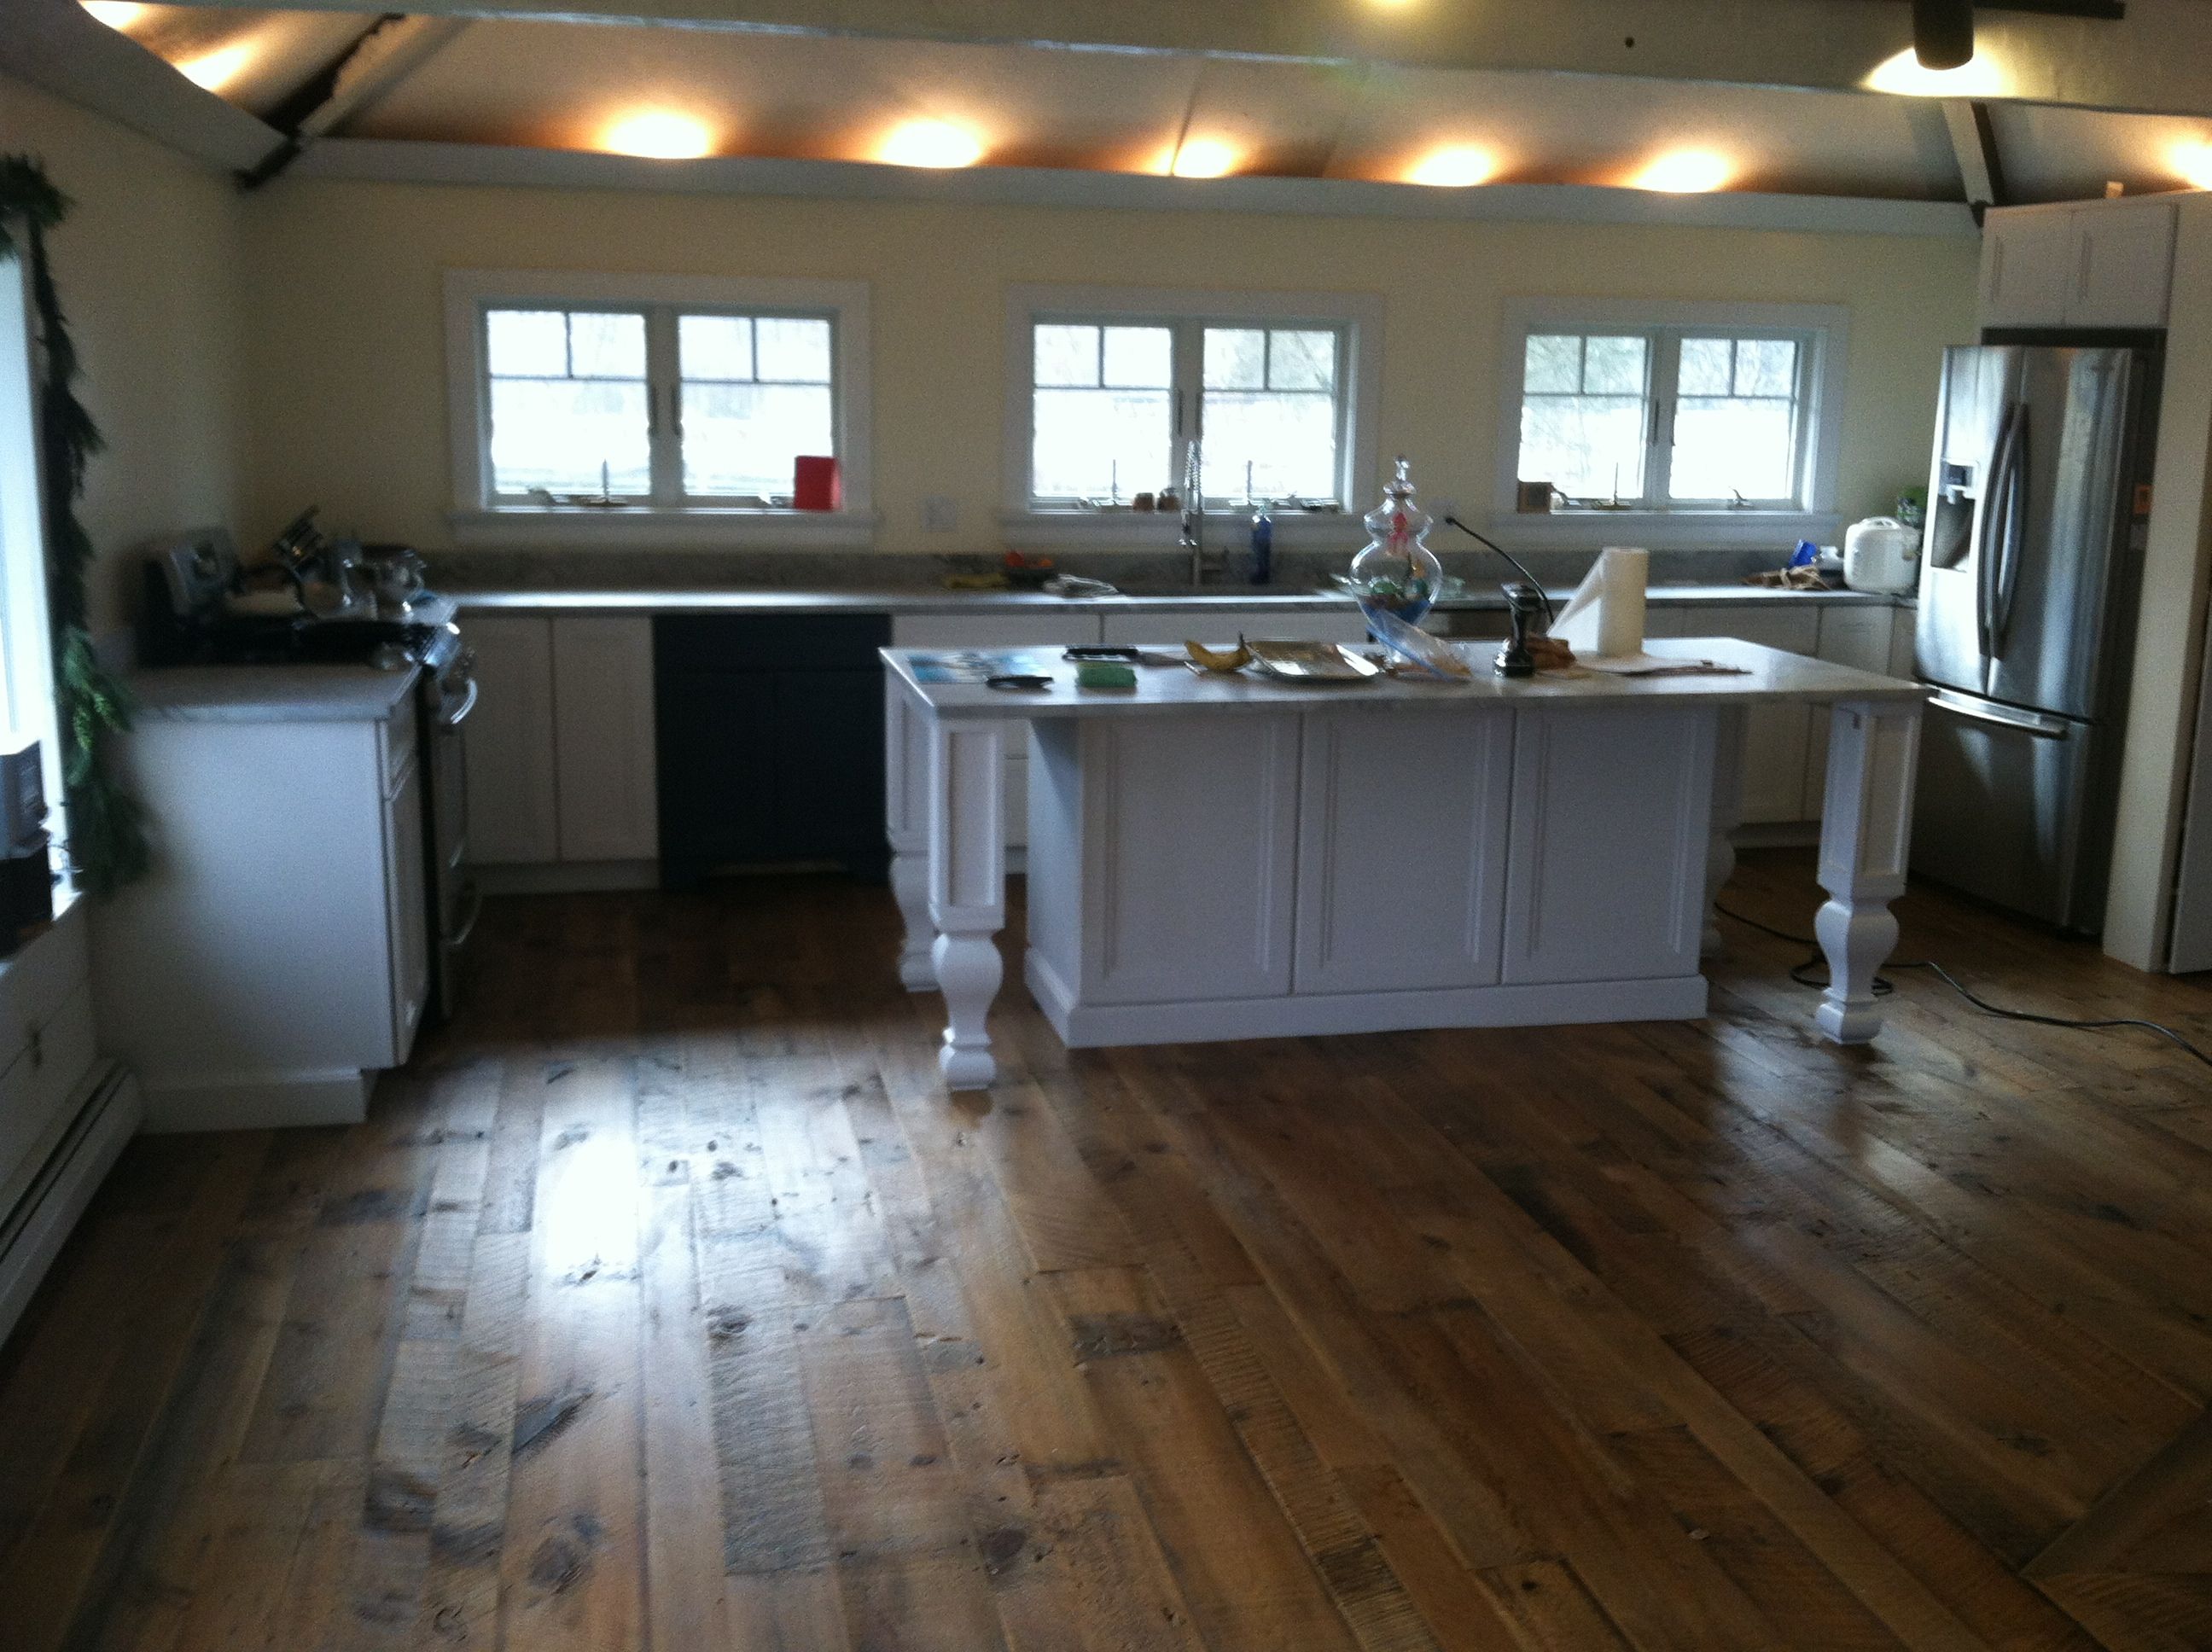 Reclaimed white wood flooring
 Antique pumpkin pine
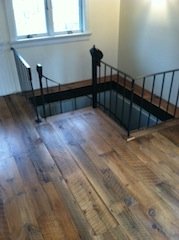 Reclaimed white wood flooring
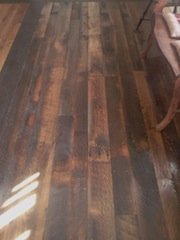 reclaimed skipped oak flooring
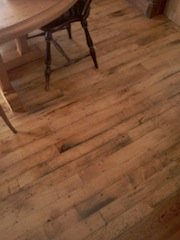 Reclaimed maple flooring
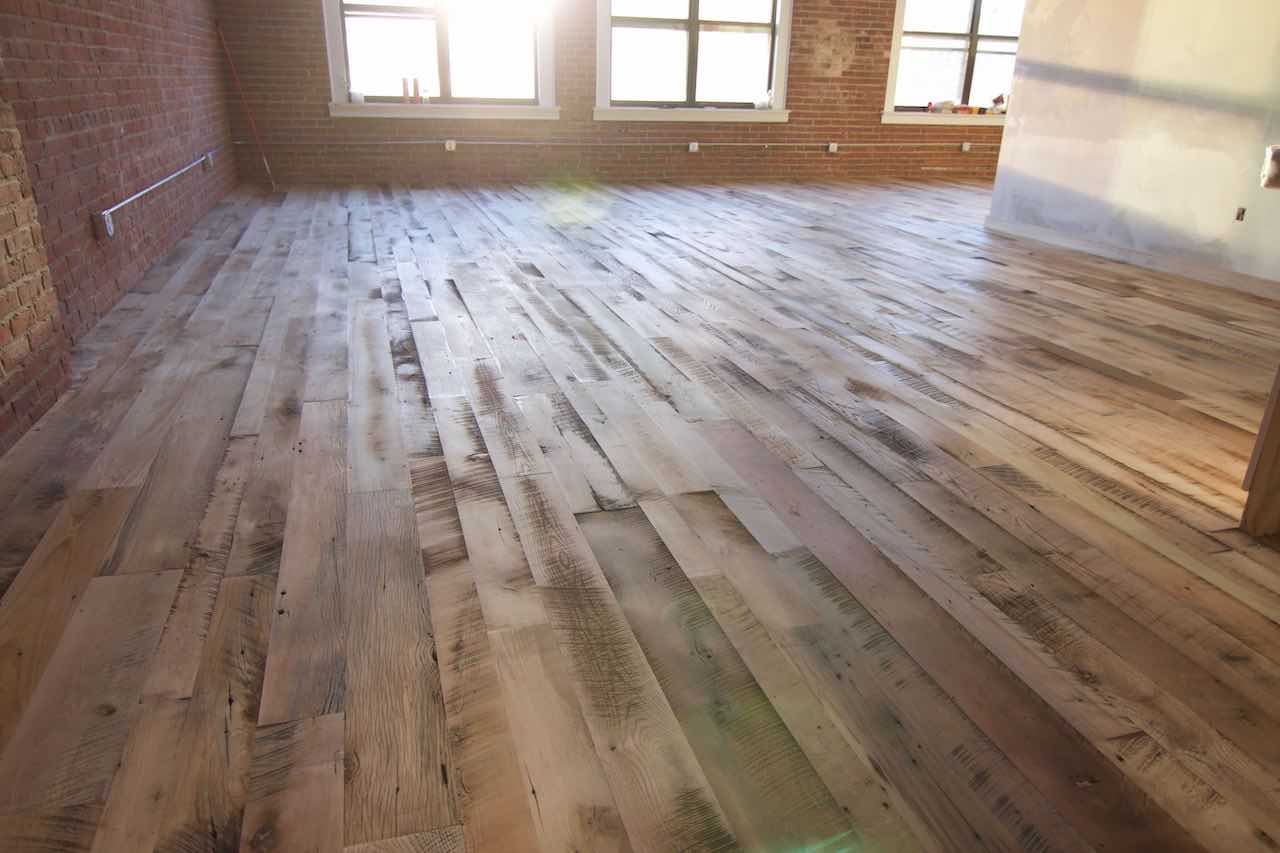 Random width, mixed species reclaimed wood flooring
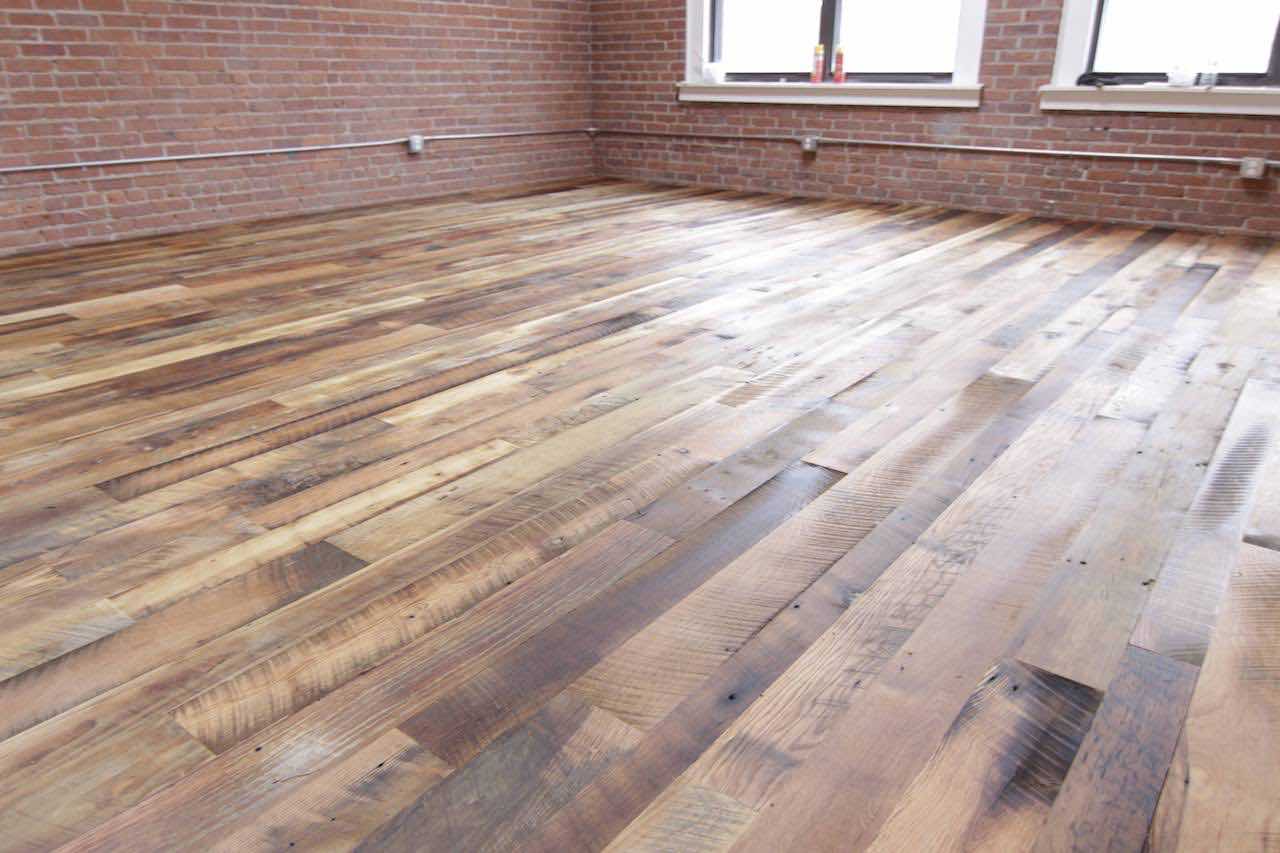 Random width, mixed species reclaimed wood flooring
Avoid a under performing reclaimed wood floor installation. Make sure you begin with the proper acclimating of the flooring, your subfloor is within installation standards, allow the proper expansion gap and make sure you are using the correct installation procedures. If, you run into trouble you can always contact a NWFA professional. Feel free to send us a message.
Choose an ideal company
You have done all the research and now have the knowledge. Don't choose the wrong flooring company.
Why work with average, when you can work with an ideal hardwood flooring company? Avoid opting for sub-par products, poor workmanship, the lack of industry knowledge and training for the sake of something new.
With G & S Floors, you will experience optimum personal service, with superlative, effective premium quality workmanship in the industry and high quality products. Homes are one of the biggest and most important investments and should be cared by an ideal company.
We've been in business over 19 years. We are a NWFA flooring contractor and follow industry standards and best practice for hardwood flooring installation, sand and finishing. We have access to training and ongoing professional development. We have a well trained staff and we never stop learning. We have a powerful network of talented professionals, distributors, manufactures and experts.
Invest in "Quality" for better service and hardwood flooring that can last a lifetime or centuries!
