Concrete floor leveling
Concrete floor leveling - If, you have an old home or a new build. Chances are that your concrete floor is out of flat. And a concrete floor leveling is required. Well, you came to the right place to learn how to do a concrete slab restoration. If, you plan to do a floating floor or a glue down flooring installation over a concrete floor. It is rare to find a concrete slab that is within, installation tolerance requirement of 3/16" flat over a 10 ft diameter span. In this article, you will learn how to properly level a concrete slab using a portland cement based self-leveling compound and learn which tools are required to properly do this job. I can't say it's an inexpensive process, but a very important one. One which will determine the quality and longevity of your flooring installation. Grab your tools and let's get started.
Concrete floor leveling - subfloor preparation
Before you start pouring new leveler onto your old or current concrete slab. You need to prepare the surface to accept new concrete floor leveler. Failing to do so will result in loose and cracked concrete floor leveler. Which is an expensive fail.
- Adhesives - Any old adhesives and mastic needs to be removed. You will need to scrape or use a scarifying tool to shred away the adhesive. Avoid using chemicals, you will create a sticky situation.
- Paint - Any paint, loose or firm, will need to be removed. Using a coating removal tool like Diamabrush designed for use over concrete or a carbide scarifying tool that will shred the paint away, works best.
- Stains and Dyes - Will need to be removed. It can cause a bonding issue with some products. Check with the manufacturer for their recommendations. Grinding, shot blasting or applying a skim coat will be required.
- Epoxy - Epoxy finishes will need to be removed. Another finish that prevents the concrete floor leveler from properly bonding. The use of a scarifier and diamonds will remove these tough finishes. The thicker the epoxy, the more difficult.
- Loose portland cement or cement - These also, should be removed.
- High spots - High spots should be ground down with low grit diamonds. Look for 16-25 grit diamond grinding wheels. Why? What you see on the top is soft concrete. Below the surface, there are hard aggregate. Using a diamond meant for finishing and polishing will not cut through hard aggregate. Even when your intentions are to remove only 1/4" of material.
- Surface profile - The surface profile of your concrete subfloor cannot be too smooth. It should not be more than a 40 grit profile. It should have a broom finish. Scarifying, shot blast or grind will be required if, you have a polished finish.
- Dirt/oil - Dirt and oil should be removed. Sweep, vacuum and grind.
Once all these are all met. You can proceed to apply concrete floor leveling primer.
Tools and materials needed for concrete floor leveling
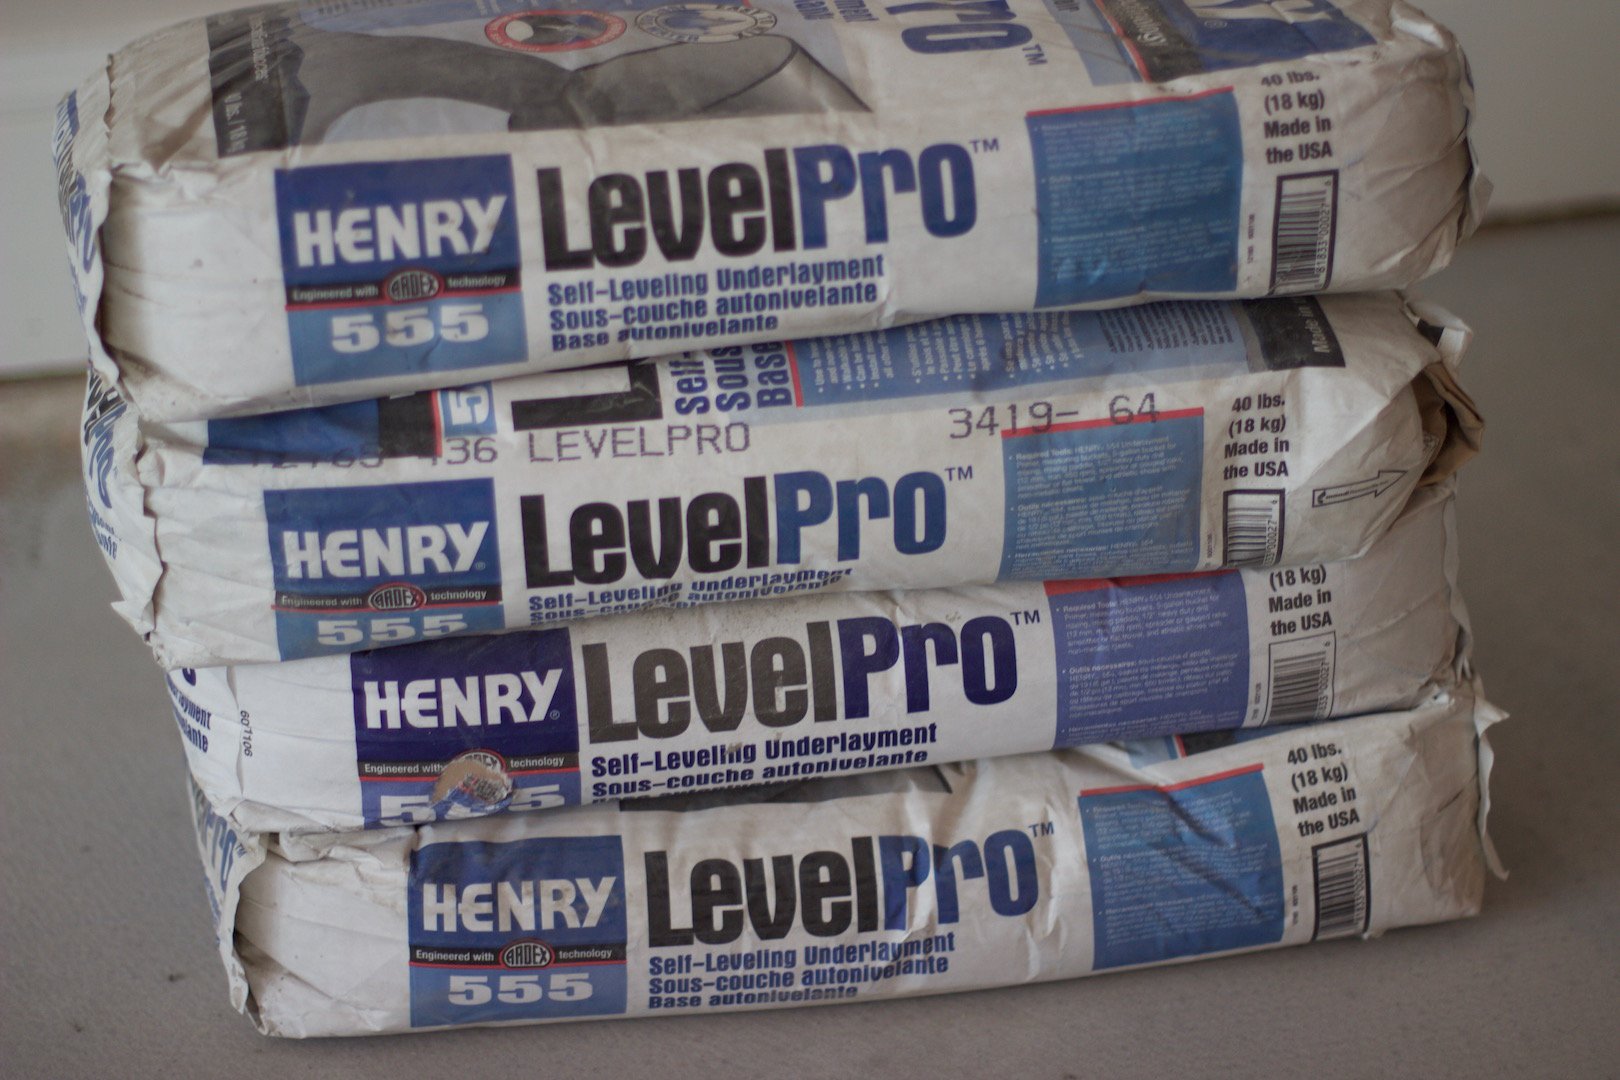 Self-leveling compound
- Dispersion primer - for maximum adhesion between new and old substrate. Prevents feather edges from cracking and chipping.
- Broom or paint roller - for primer application
- Self-leveling compound
- Hammer Drill gun and mixing paddle
- 5 gallon bucket
- floor squeegey
- Spike roller - to remove the air bubbles from the leveling compound and assist the product to level
- Spike shoes or sports cleats - Allows you to walk on the wet surface, without leaving shoe prints
- Vacuum
How to apply concrete floor leveling compound
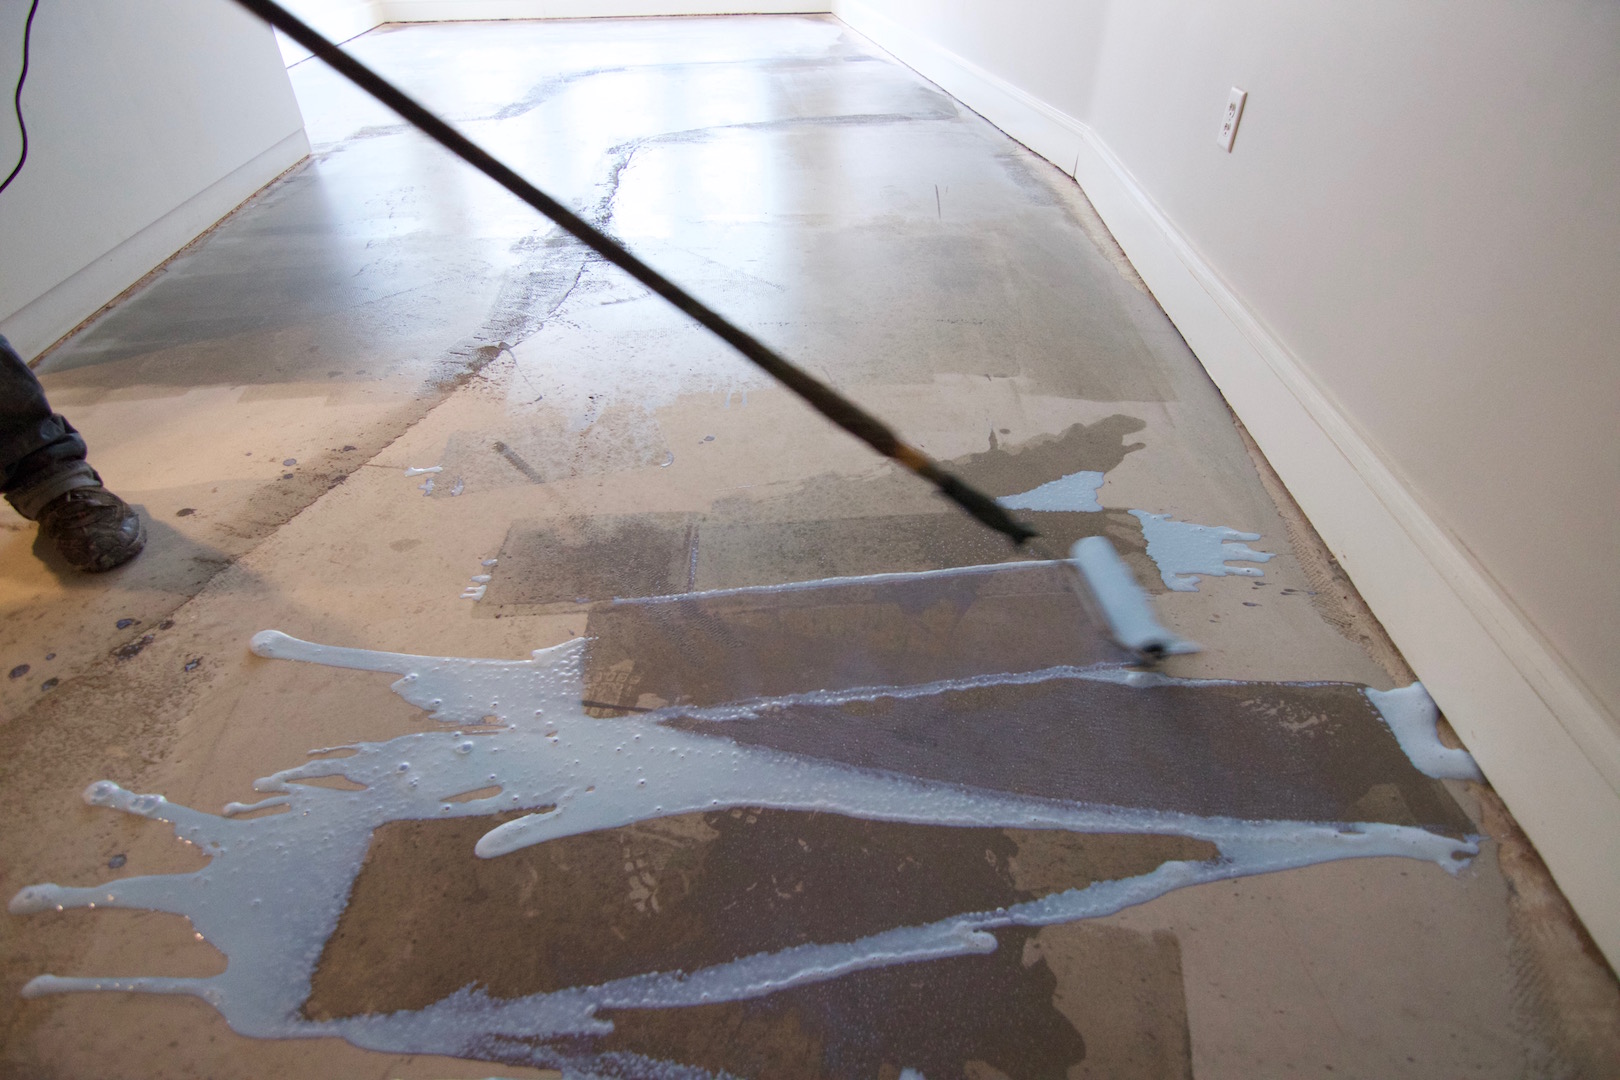 For maximum adhesion use a dispersion primer before pouring your self-leveler
- Start by vacuuming the surface, make sure it's clean of all debris, oils and contaminants. Remove any loose paints or broken pieces of concrete.
- Mix your dispersion primer according to manufacturer's instructions. This instruction explains how to apply Henry's 554 dispersion primer. Starting from the furthest point from your exit. Pour a 2 foot puddle onto the floor and use the broom to spread the finish and coat the concrete floor. Coat the entire area. For edges, coat as close as possible, within 1", without touching your wall or baseboards. Allow the dispersion primer to dry according to the manufacturer's instruction. Our product required a minimum of 3 hours to dry to a clear film. Do not skip out on the dispersion primer. Your floor leveling compound will crack and come loose. You will either end up with a noisy and loose floor.
- After your primer has dried, it's time to pour your concrete floor leveling compound. Here we are using Henry's 555 self-leveling compound. Where you can pick up at any home centers. There are other similar products. Just be sure to follow the manufacturer's instruction for proper application. Mix your self-leveling compound a bag at a time into a 5 gallon bucket. Have a helper mix the product for you. It will help move the job along faster. And you can focus on leveling the product.
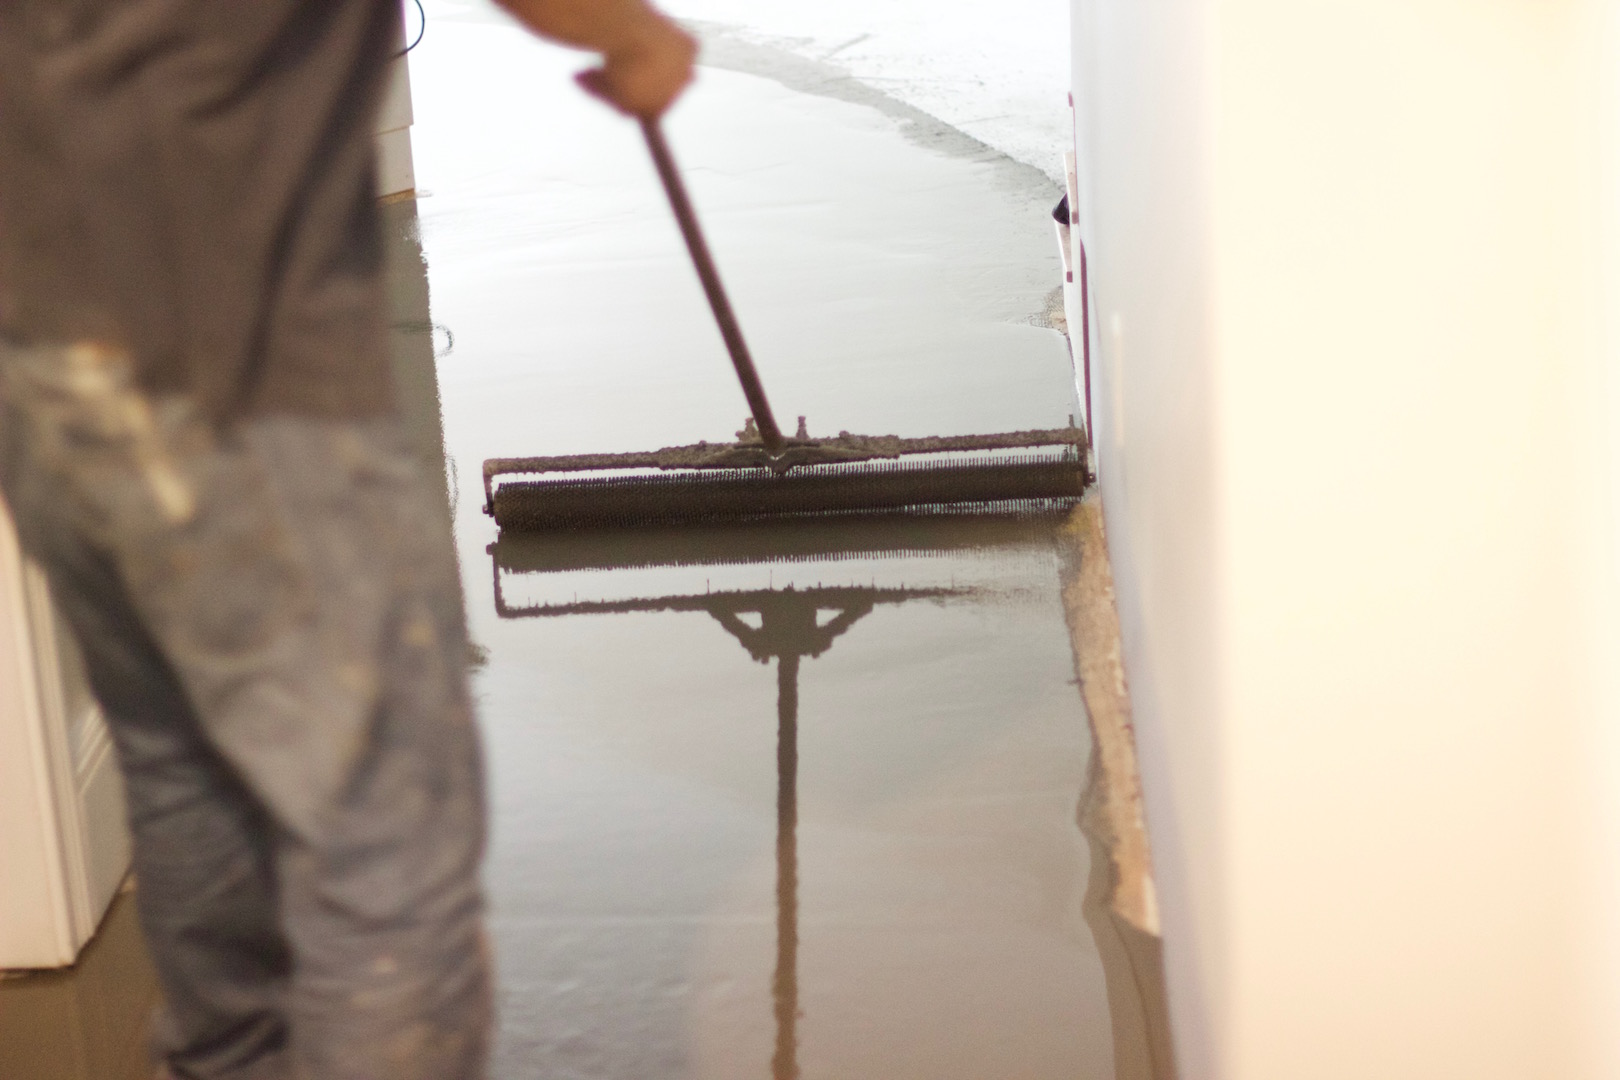 Rolling a portland based cement concrete floor leveler
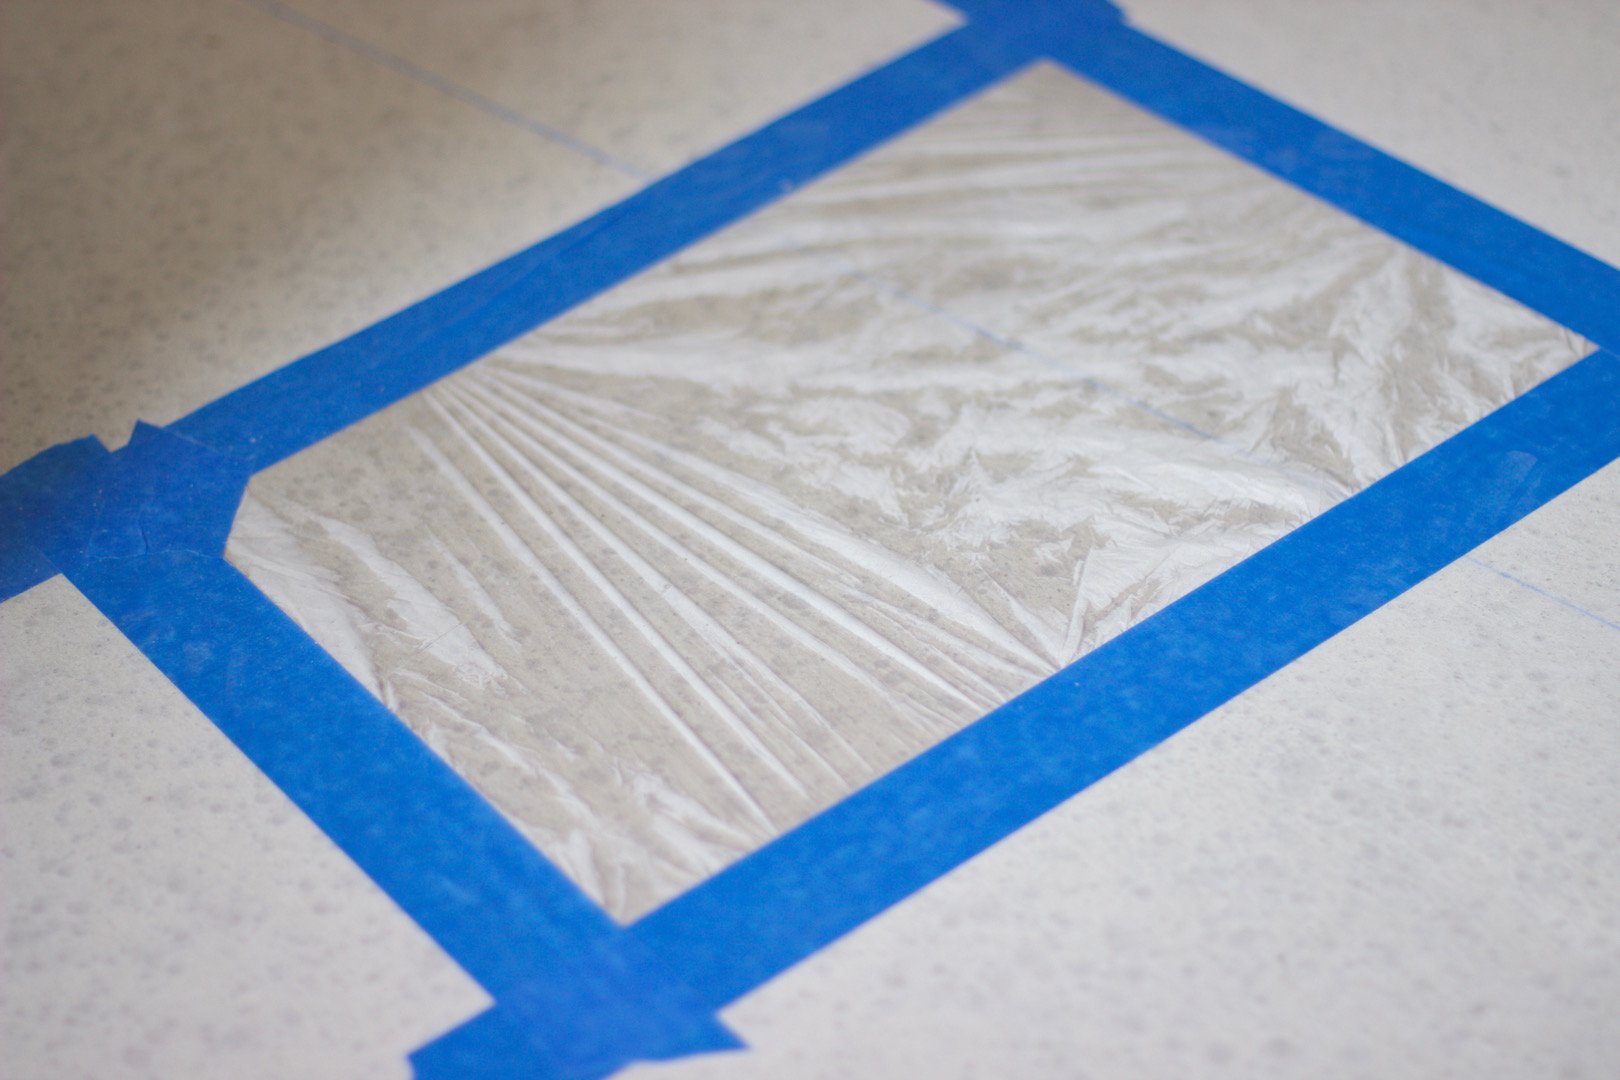 Using plastic and tape to test for moisture
- Walk back into the area with the spike roller. And begin to roll the entire space, until you remove any lumps and unevenness. When properly irrated, you should have an even sheen across the surface. This is an indication that your surface is now flat and leveled within an 1/8" tolerance.
- Repeat this process, until you are complete. Allow to dry overnight.
- Perform a moisture test, by taping a piece of plastic onto the surface. Inspect the plastic, for condensation. If, there is condensation, allow more time for the self-leveling compound to dry. Before installing your new engineered hardwood floors.
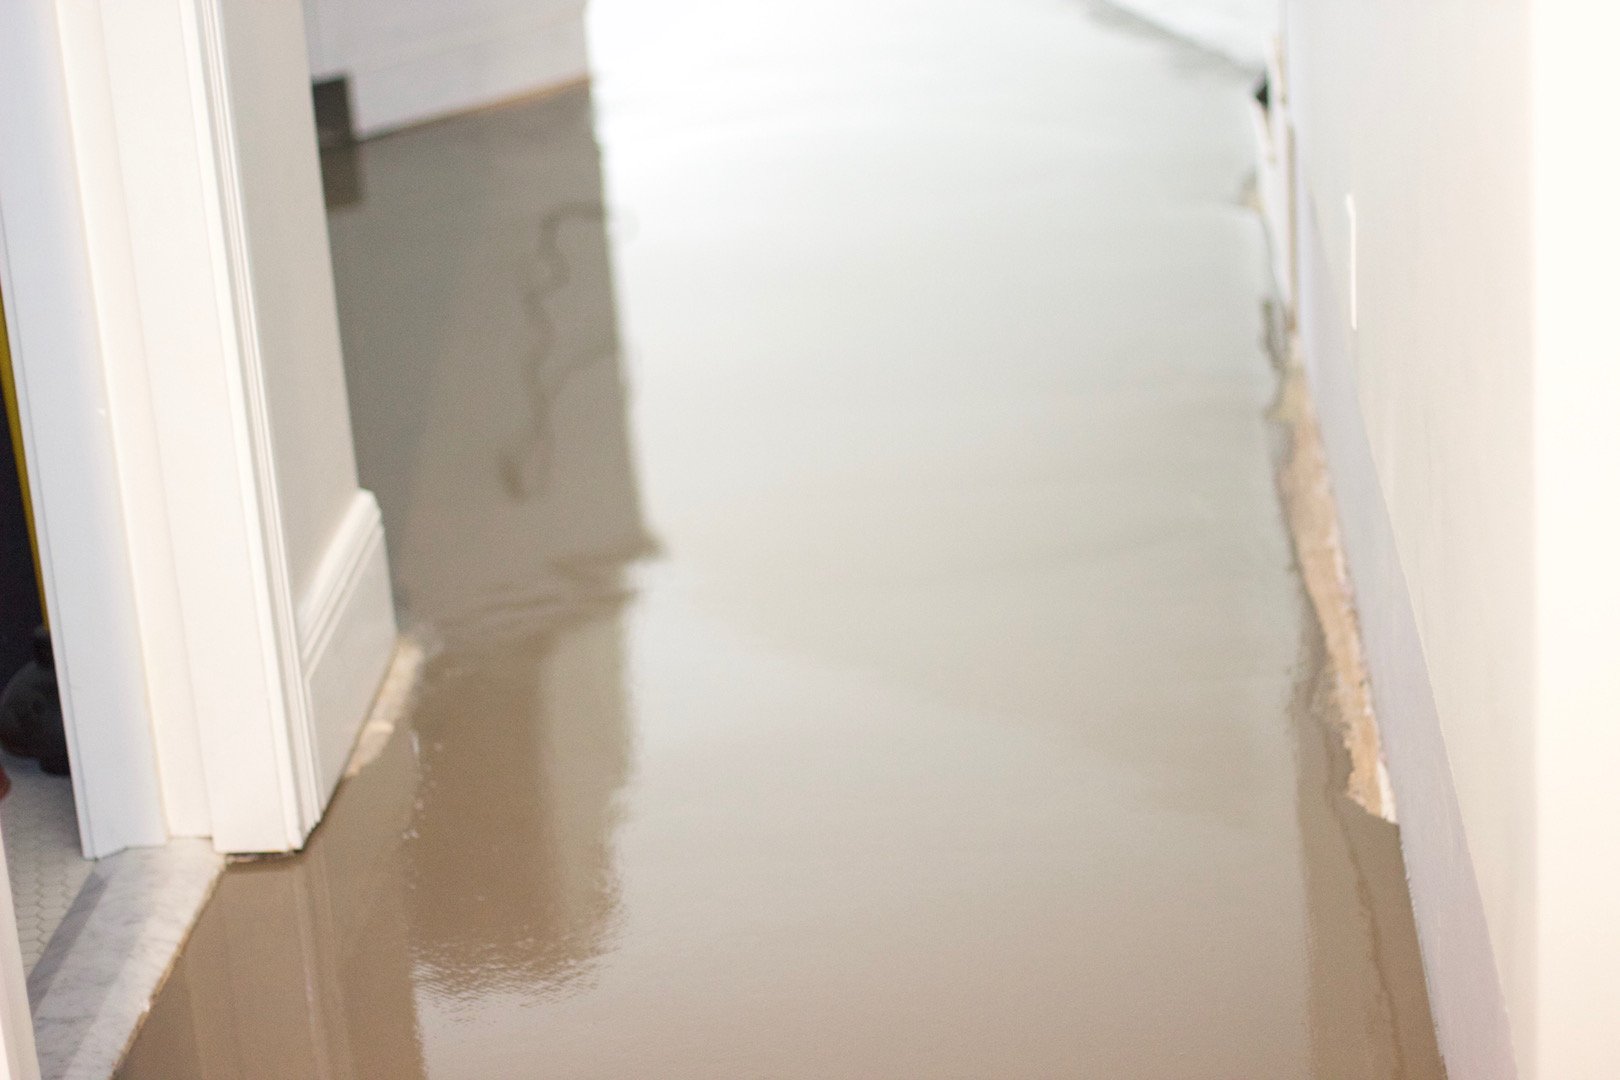 Concrete floor leveling works best, when you pour the entire area
Simple as that, concrete floor leveling is an easy task. It's not inexpensive, due to the cost of the self-leveling compound itself. Which starts at $37 per 40 pound bags. Depending, on the conditions of your concrete floor. The cost of just purchasing the floor leveler can be very high. But the cost should not out weight the benefits that it will provide you. You will have a flat solid surface to glue or float your hardwood floors. Hollow spots and bounces are eliminated. Avoid having your floor installation warranty being voided. Perform a concrete floor leveling for proper wood flooring installation.
Click here to go to our glue down flooring page.
Choose an ideal company
You have done all the research and now have the knowledge. Don't choose the wrong flooring company.
Why work with average, when you can work with an ideal hardwood flooring company? Avoid opting for sub-par products, poor workmanship, the lack of industry knowledge and training for the sake of something new.
With G & S Floors, you will experience optimum personal service, with superlative, effective premium quality workmanship in the industry and high quality products. Homes are one of the biggest and most important investments and should be cared by an ideal company.
We've been in business over 19 years. We are a NWFA flooring contractor and follow industry standards and best practice for hardwood flooring installation, sand and finishing. We have access to training and ongoing professional development. We have a well trained staff and we never stop learning. We have a powerful network of talented professionals, distributors, manufactures and experts.
Invest in "Quality" for better service and hardwood flooring that can last a lifetime or centuries!
