Wide Plank flooring
Installing wide plank flooring - Is not much different, from installing hardwood flooring strips. But with one added important step - adhesives. Yes - sticky, messy adhesives. Regardless of the mess, it's the most important part of wide plank hardwood flooring installations. Of course, this applies to only planks that are wider than 5 inches.
Why is adhesives so important?
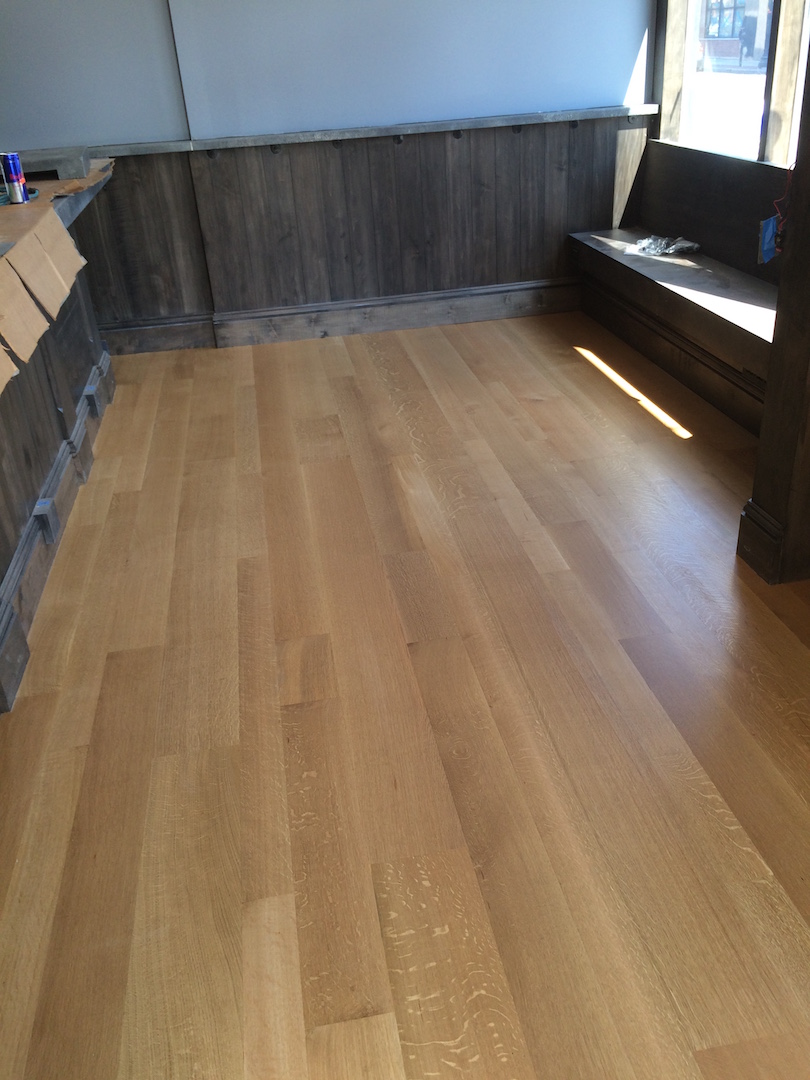 Wide plank rift and quarter sawn white oak flooring
Why is glue so important? The glue is additional fasteners for wide plank flooring wider than 5 inches. If, you don't use flooring adhesives. You are only fastening your flooring boards along the sides of the planks with nails, cleats or staples. Leaving the middle, flexing and floating. Issues you will have in the future are bowing, cracking, noise and total hardwood floor installation failure. Your hardwood flooring will not stay flat. The middle will lift up and you will be walking on a uneven surface. A nail down flooring installation will turn into a sprung floor, eventually.
The glue acts as a vapor retarder. We all know how important a vapor retarder is. We don't want moisture damaging our floor from underneath. We abuse it enough from the top. Not only that, the glue will not deteriorate over time, due to moisture.
The glue is a sound barrier. Why would a sound barrier be so important? If, you own a multi-level home, being able to reduce noise from other parts of the home is priceless. Foot traffic, music, tv and noise in general. Nothing like peace and quiet.
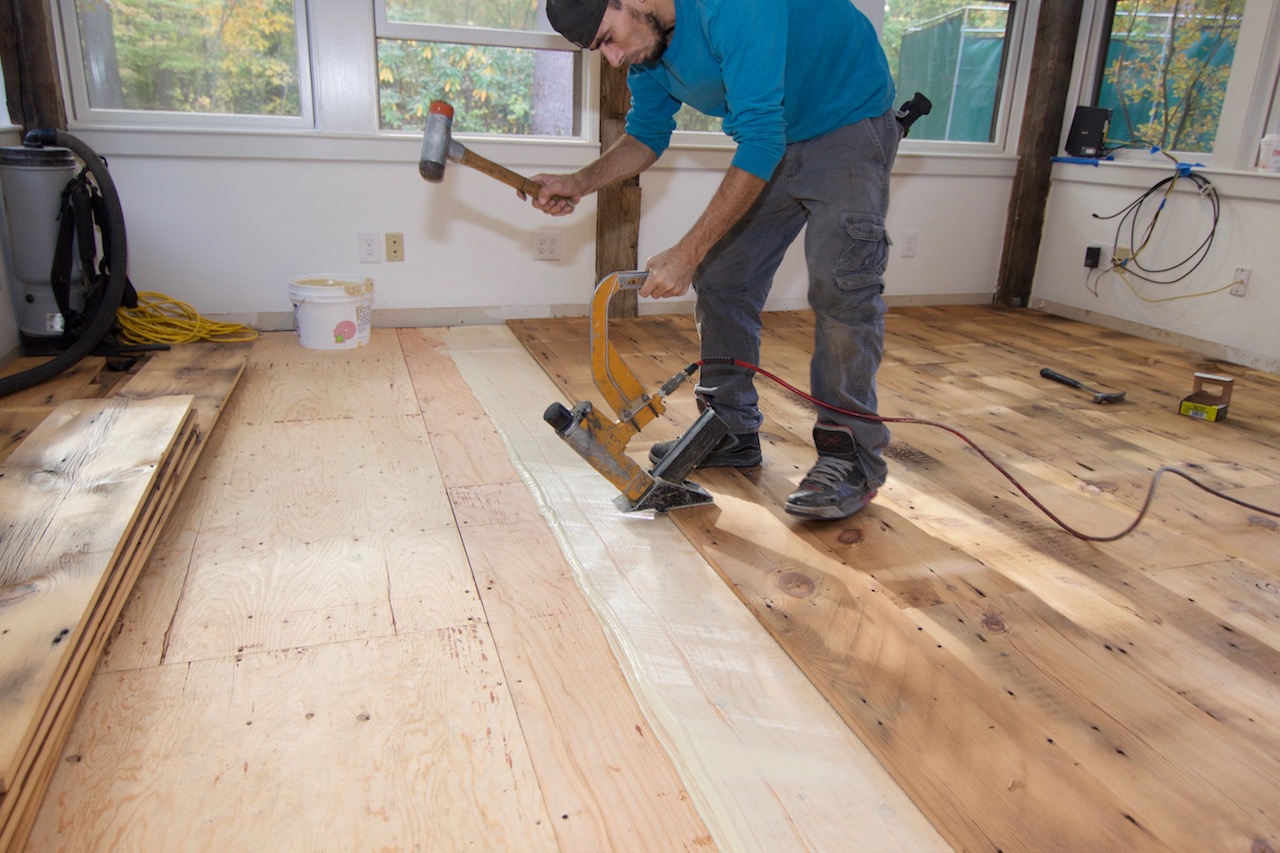 Wide plank installation
Full spread glue down and nail assist installation
Choosing flooring adhesive
There are many different types of wood flooring adhesives in the market to choose from. Which one is the right one for you, will depend on the type of flooring, job-site conditions and building requirements.
- Alcohol based - for uneven subfloors, use a no sag, no slump adhesive to avoid hollow spots
- Polyurethane - for high tensile strength and shear strength up to 680 psi, for wide plank flooring installations
- Moisture cure - for subfloors with high moisture content 3# or more and high humidity conditions, guarantees drying
- Polymer based (Silane) - the most flexible adhesive, allows your wood flooring to move naturally
- Moisture cure Polymer - for wet subfloors and high humidity job-sit conditions, with the benefits of silane technology
- Acrylic urethane - for dry subfloors under 3# of moisture, used for engineered strips and parquets, brittle when dried
What to look for in adhesives
There are many choices for adhesives, but which one is correct for you? Choose an adhesive that has as many benefits as possible. Job-site conditions are never perfect and can change overnight. You should always choose an adhesive that will exceed your expectations. Choose adhesives with the following characteristics for the best performance listed below.
- High shear strength - Think long term, you will need all the holding power available to help your installation perform for 100 years, especially towards the center of your flooring boards
- Flexibility - wood is natural, you have to allow it to expand and contract. Choose adhesives with Silane technology. This will help avoid and cracks from forming over the life of your flooring, shear strengths up to 400 psi
- Moisture cure - Unless you are able to control the climate like a test lab, select an adhesive that will dry in wet, humid conditons. Excellent choices for below grade installation
- Vapor retarder and barrier - With the use of the proper manufacturer's trowel recommendations. Adhesives can block moisture up to 18# at 95% humidity or allow your flooring to breath on grade and above grade installation with a perm rating of .8
- Sound reduction - Some adhesives will help reduce impact noise up to 70 IIC
- No Water - avoid using adhesives with water. This can cause your floor boards to cup. This will cause issues with staining and finishing, for on-site finished floors. It can fail in the future.
- Easy clean up - who likes cleaning dried glue off of pre-finished floors, not I
Start with these adhesive Manufacturer's:
- Bona
- Bostik's
- Stauf
- Wakol
My recommendation: choose a high shear strength moisture cure polymer adhesive.
Subfloor preparation
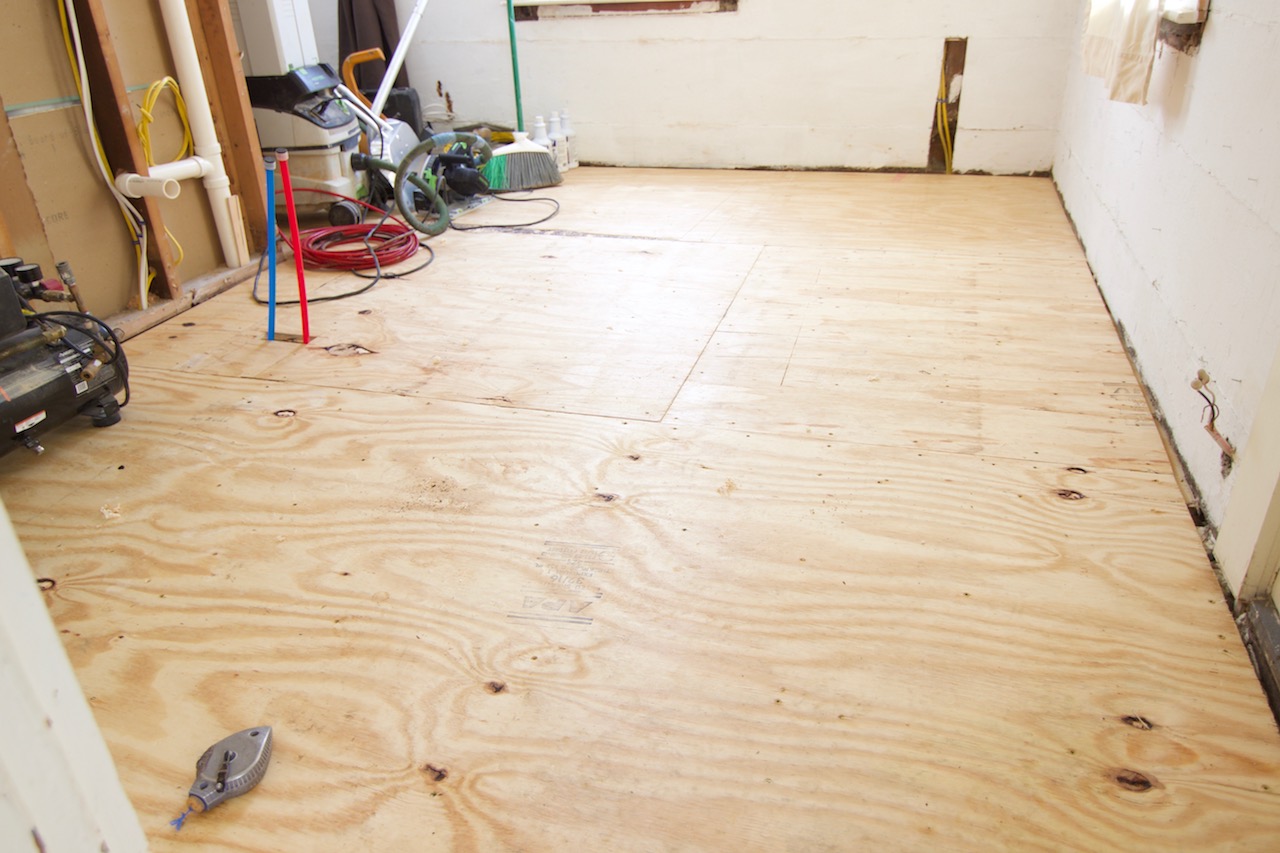 The old subfloor was replaced with new cdx panels due to moisture issues
Subfloor preparation according to NWFA guidelines and adhesive manufacturer's guidelines. The subfloor should be flat within 3/16" over ten feet, sound, clean and dry. The subfloor should be free of contamination to prevent adhesion issues between adhesive and subfloor. For high performance subfloor panels like Advantech, the surface should be abraded with a 36 grit sandpaper before applying adhesives. In some cases a bond enhancer (glue primer) will need to be applied to promote adhesion, depending on the manufacturer.
Installation type
There are three installation type or method for wide plank flooring installation. Which type you use will depend on the width of your flooring and the construction, solid or engineered.
- Full spread - use a full spread adhesive installation, over gypsum on concrete slabs, wide plank flooring up to 16" engineered
- Nail and glue assist - for 4 and 5" planks, a bead of glue can be applied to the back of the flooring using a serpentine pattern or applied to the ridge 1 or 2" away from the groove side and then fastened with nails along the tongue
- Glue and nail assist - for 6" or wider, use a full spread adhesive assisted with fasteners along the tongue
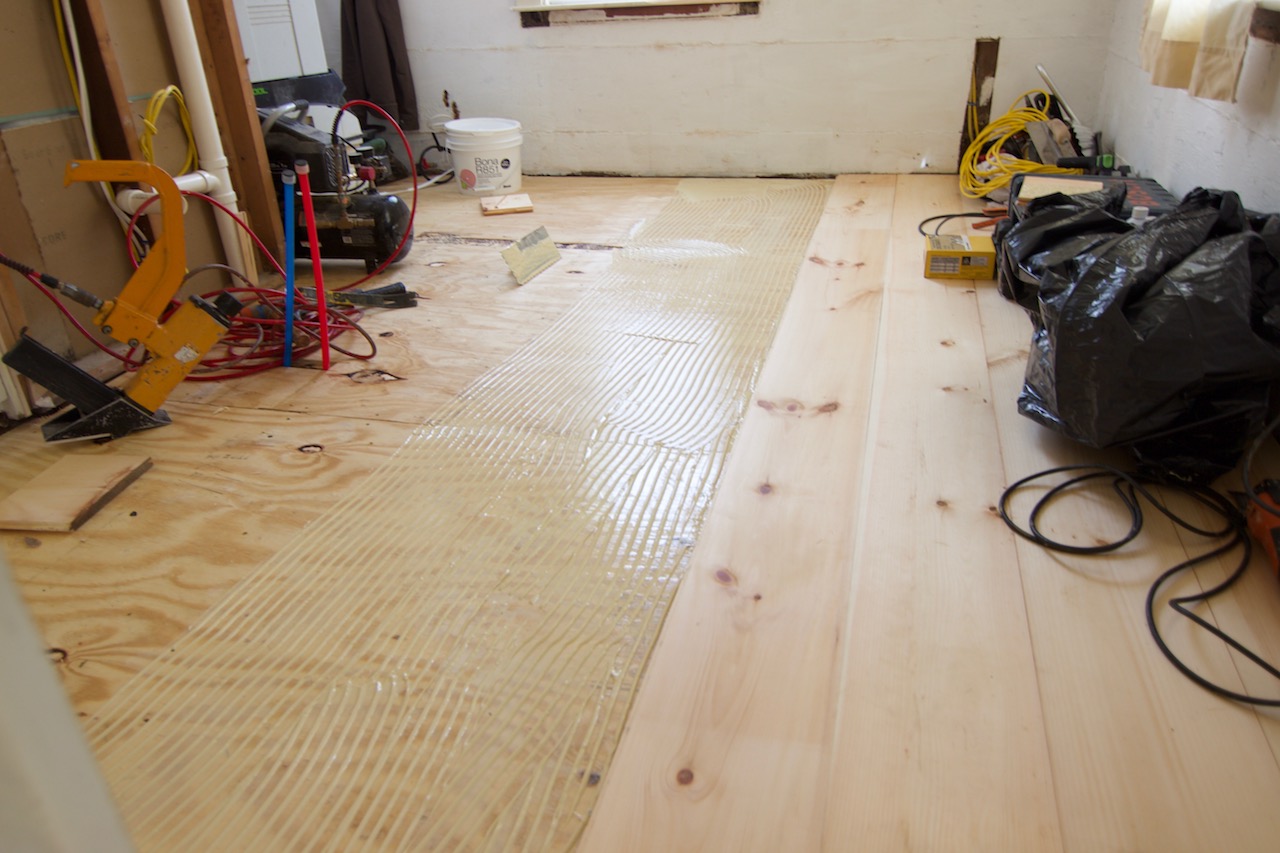 Glue with nail assist - full spread adhesive, with cut nail installation Glue with nail assist - full spread adhesive, with cut nail installation |
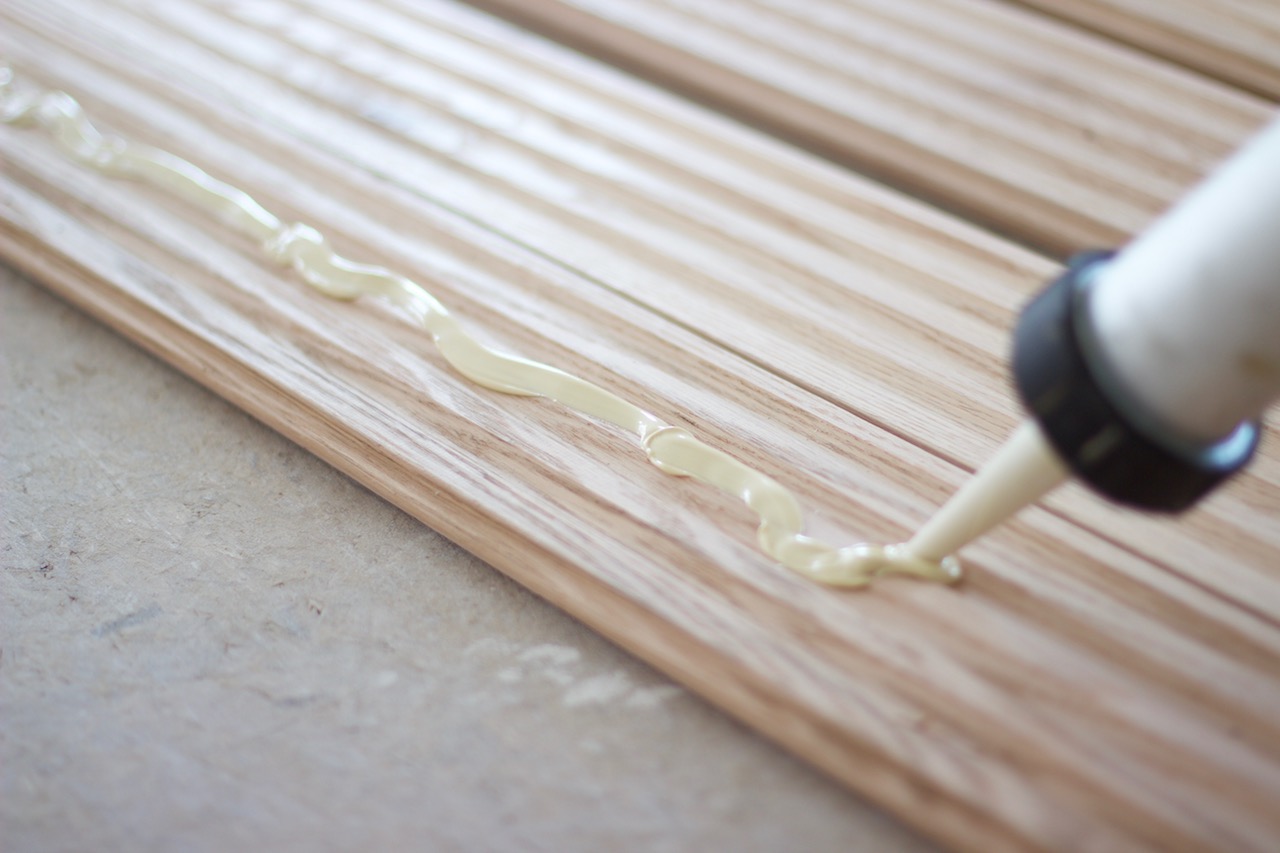 Glue assist - applying a bead of silane adhesive to the top of the ridge of a 4 1/2" red oak flooring Glue assist - applying a bead of silane adhesive to the top of the ridge of a 4 1/2" red oak flooring |
Wide Plank flooring installation
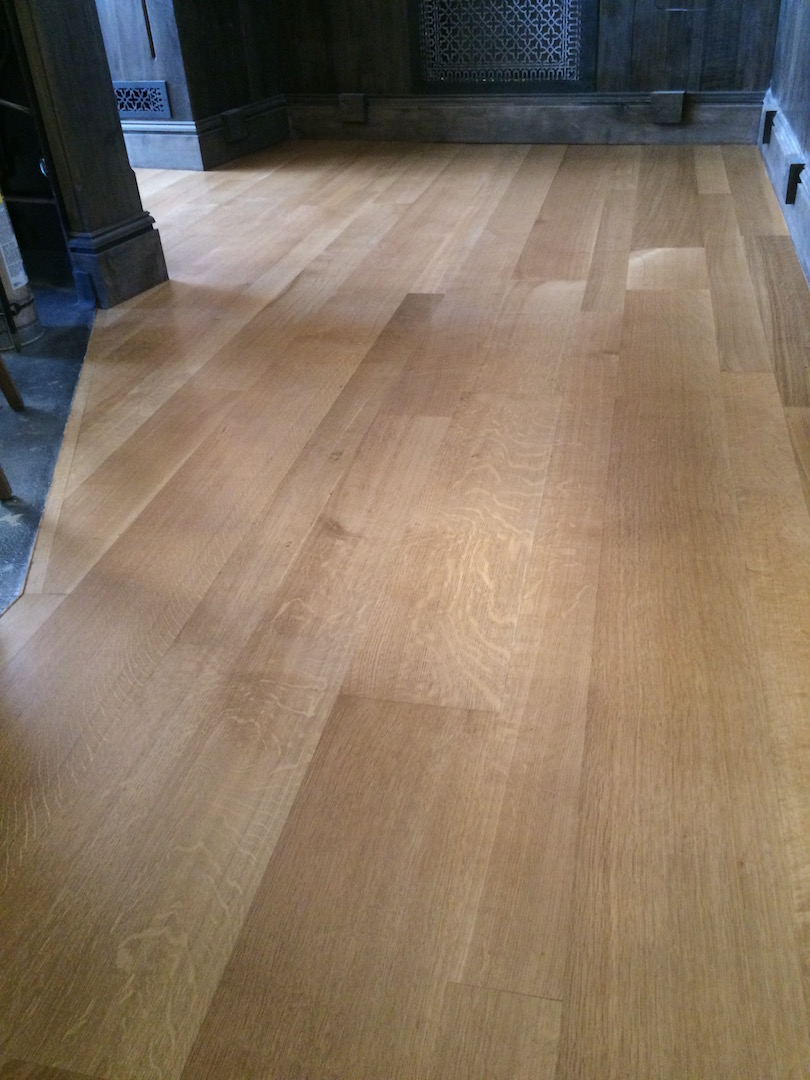 Wide plank flooring
Begin your wide plank flooring installation. Using the proper sized trowel, this will depend on the flatness of the sub-floor and the adhesive manufacturer's guidelines. Deep trowel for irregular floors and shallow trowels for very flat floors. Click the link, for more information on glue down flooring installation. Snap a straight line, then apply glue to a 12"-20", from wall to wall section. Face nail your first straight row. Then staple the rest of the floor boards, until you reach the end of the glue patch. Click the link, for information on hardwood flooring installation. Now apply glue to a larger 24"-36" section and continue your plank flooring installation, repeat the process until complete. Did you find our page useful? Click the like and share button, so we can bring more tips to you.
For more information on wide plank flooring visit NWFA.org
Choose an ideal company
You have done all the research and now have the knowledge. Don't choose the wrong flooring company.
Why work with average, when you can work with an ideal hardwood flooring company? Avoid opting for sub-par products, poor workmanship, the lack of industry knowledge and training for the sake of something new.
With G & S Floors, you will experience optimum personal service, with superlative, effective premium quality workmanship in the industry and high quality products. Homes are one of the biggest and most important investments and should be cared by an ideal company.
We've been in business over 19 years. We are a NWFA flooring contractor and follow industry standards and best practice for hardwood flooring installation, sand and finishing. We have access to training and ongoing professional development. We have a well trained staff and we never stop learning. We have a powerful network of talented professionals, distributors, manufactures and experts.
Invest in "Quality" for better service and hardwood flooring that can last a lifetime or centuries!
