How to Install Hardwood Floor
Things You Should Check Before Starting
Learn how to install hardwood floor - After you have decided on an interior design idea, for your room. And you have chosen your hardwood flooring. The room is empty, painted, and ready for new hardwood flooring. Before you begin learning about how to install hardwood floors. Here are a few things you should check before you begin on your hardwood flooring installation. These are important steps, that you should not overlook.
How to install hardwood floor - Subfloor preparation
How to install hardwood floor -
Flatness
Check surface for flatness. The tolerance for surface flatness is 3/16" variation along 10' diameter. To ensure a beautiful and flat complexion from your wood floor finished surface. Correct any uneven areas, whether they're low or high spots. Before starting your hardwood floor installation.
High spots - Sand down high spots with a 40 grit sand paper. The best tool to use is a buffer with a hard plate system. The buffer will help flatten your surface. You can use smaller equipments like an edger or hand held belt sander. The surface should be checked with a straight edge, preferably a 10' straight edge.
Low spots - Use a Portland based cement floor compound surface preparation product like Henry's 547 uni-pro universal patch or 549 Feather finish. Make sure you follow manufacture's instructions and perform a moisture test after it has dried. A wet sub-floor will cause your hardwood floor boards to cup.
Correcting high and low spot is an important step, especially for floating floor installation and glue down flooring installation. This will allow these types of flooring to sit firmly tight onto the sub-floor. Which will help prevent the wood flooring from separating, squeaking, bouncing and many other problems. A flat surface will prevent your furnitures from rocking and tipping over and injuring someone. Learning how to install hardwood floors on a flat surface is much easier and less frustrating. Your floor boards will connect to each other with ease. Compared to struggling to bend pieces of hardwood flooring into place. We don't need the struggle or hassle. Your body will thank you for it.
How to install hardwood floor -
Stop and Prevent a Noisy Floor
Tighten that floor, before you nail down that first piece of flooring. No one likes an annoying loose and noisy floor. Squeaks are most likely caused from a loose sub-floor. Fasten the floor to get rid of them. Using non-corrosive decking screws or 2"- 3" ring nails, fastened into the floor joist. Once, you've installed your new wooden floor. Squeaks can be difficult to get rid of afterwards.
If, you already have existing hardwood floors installed in your home and are noisy, try fixing it from below. As long as you have access to your floor joist. You can fix the noise by inserting shims tipped with polyurethane adhesive between the floor joist and sub-floor to eliminate movement. You can also, use spray on foaming adhesive from Tytan.
How to install hardwood floor -
Check for Moisture: windows, doors, pipes, sub-floor, flooring and air
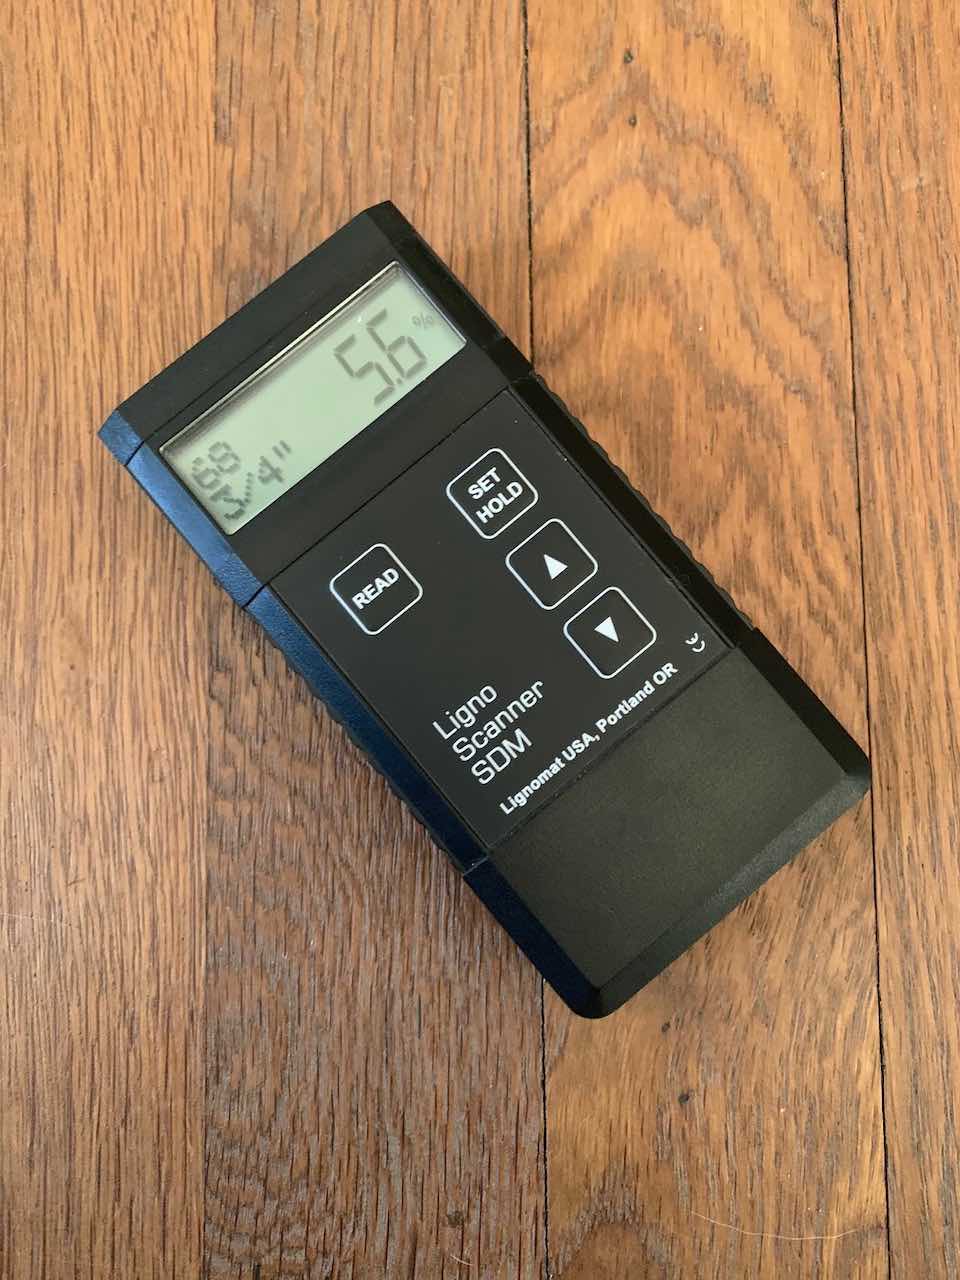
 Digital dual depth Moisture meter Digital dual depth Moisture meter |
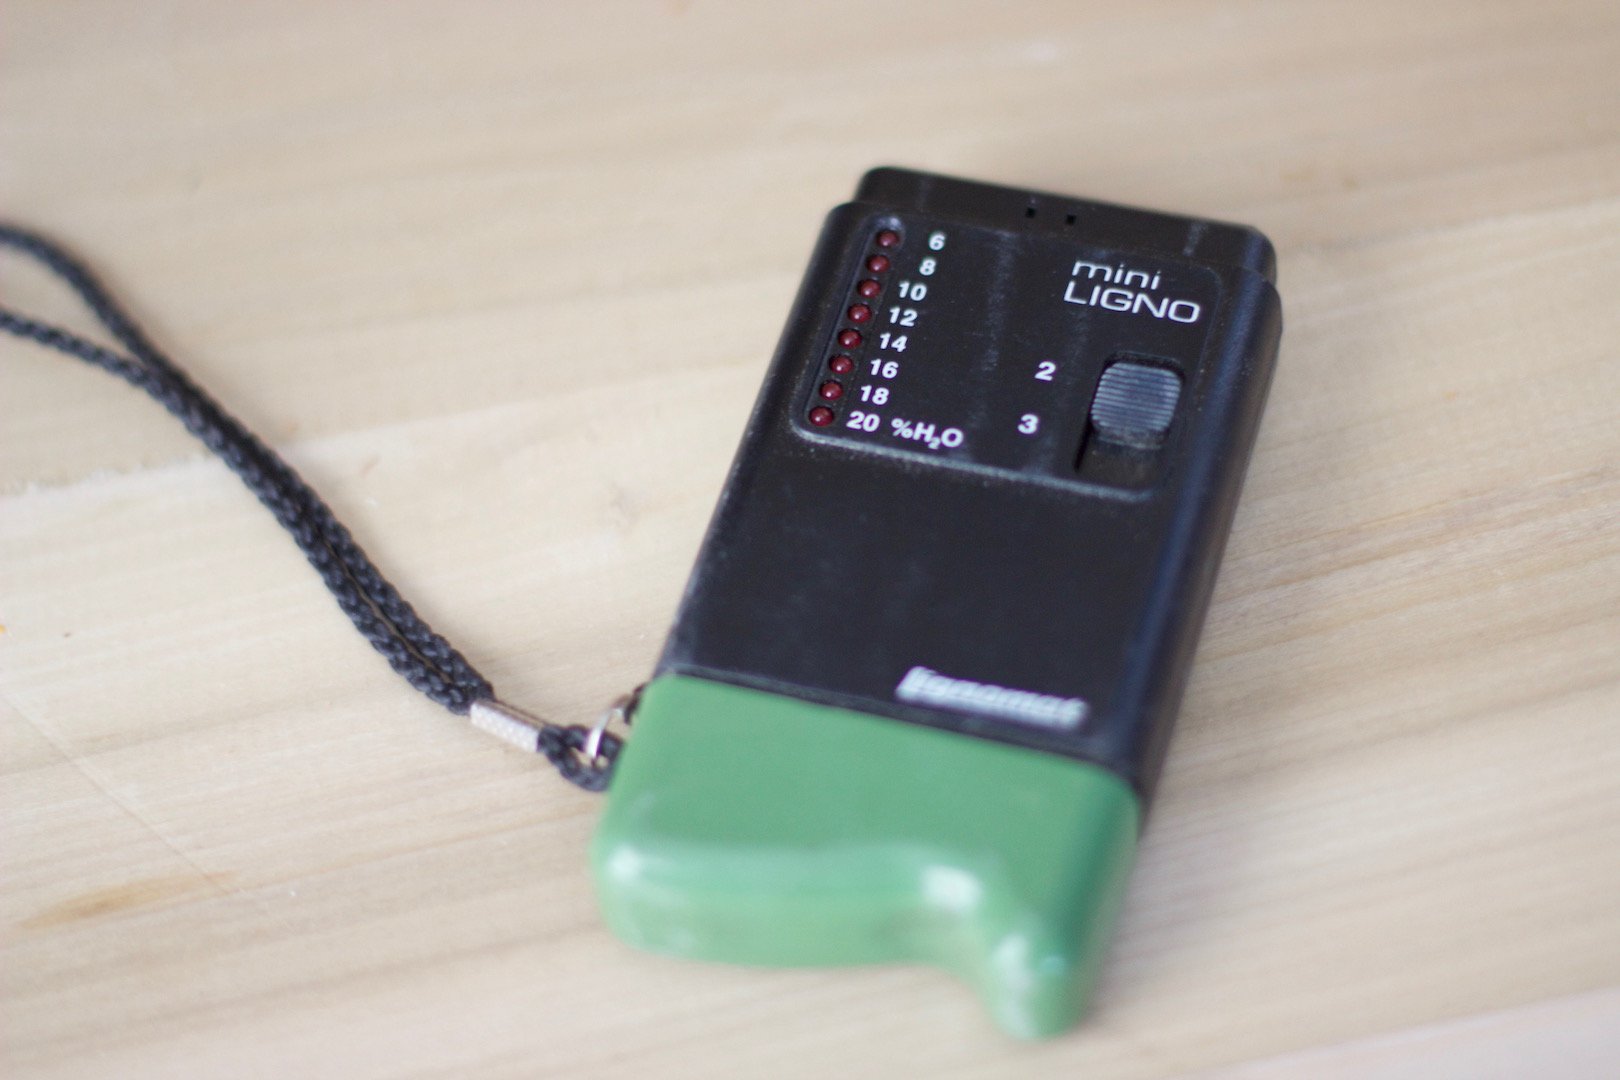
 Pin Moisture meter Pin Moisture meter |
Check for moisture - Take a walk around and inspect your doors, windows, plumbing and heating systems for any possible leaks. Any leaks should be addressed as soon as possible.
Sub-floor - Using a dual depth moisture meter, take readings of your sub-floor in several places, 20-30 readings per 1000 sq. ft. High levels of moisture will cause problems in the near future. High levels of moisture will create issues with your finish drying improperly. Subfloor readings should be no greater than 12%. Readings at 1/4" and 3/4" depth should be equal.
Floor boards - Using a moisture meter, take a reading of several boards from different bundles. Moisture levels in your flooring should be between 6 - 8%. This will help minimize expanding and contracting between hot and cold seasons. Flooring should be acclimated to the work space properly. Usually a minimum of 3 days, but can be up to weeks, depending on the conditions. The most accurate way is to use a moisture meter and take readings. Strip flooring should be within 4% of your subfloor. And planks or wide planks should be within 2% of the subfloor. Do not install your flooring if, the reading is out of range.
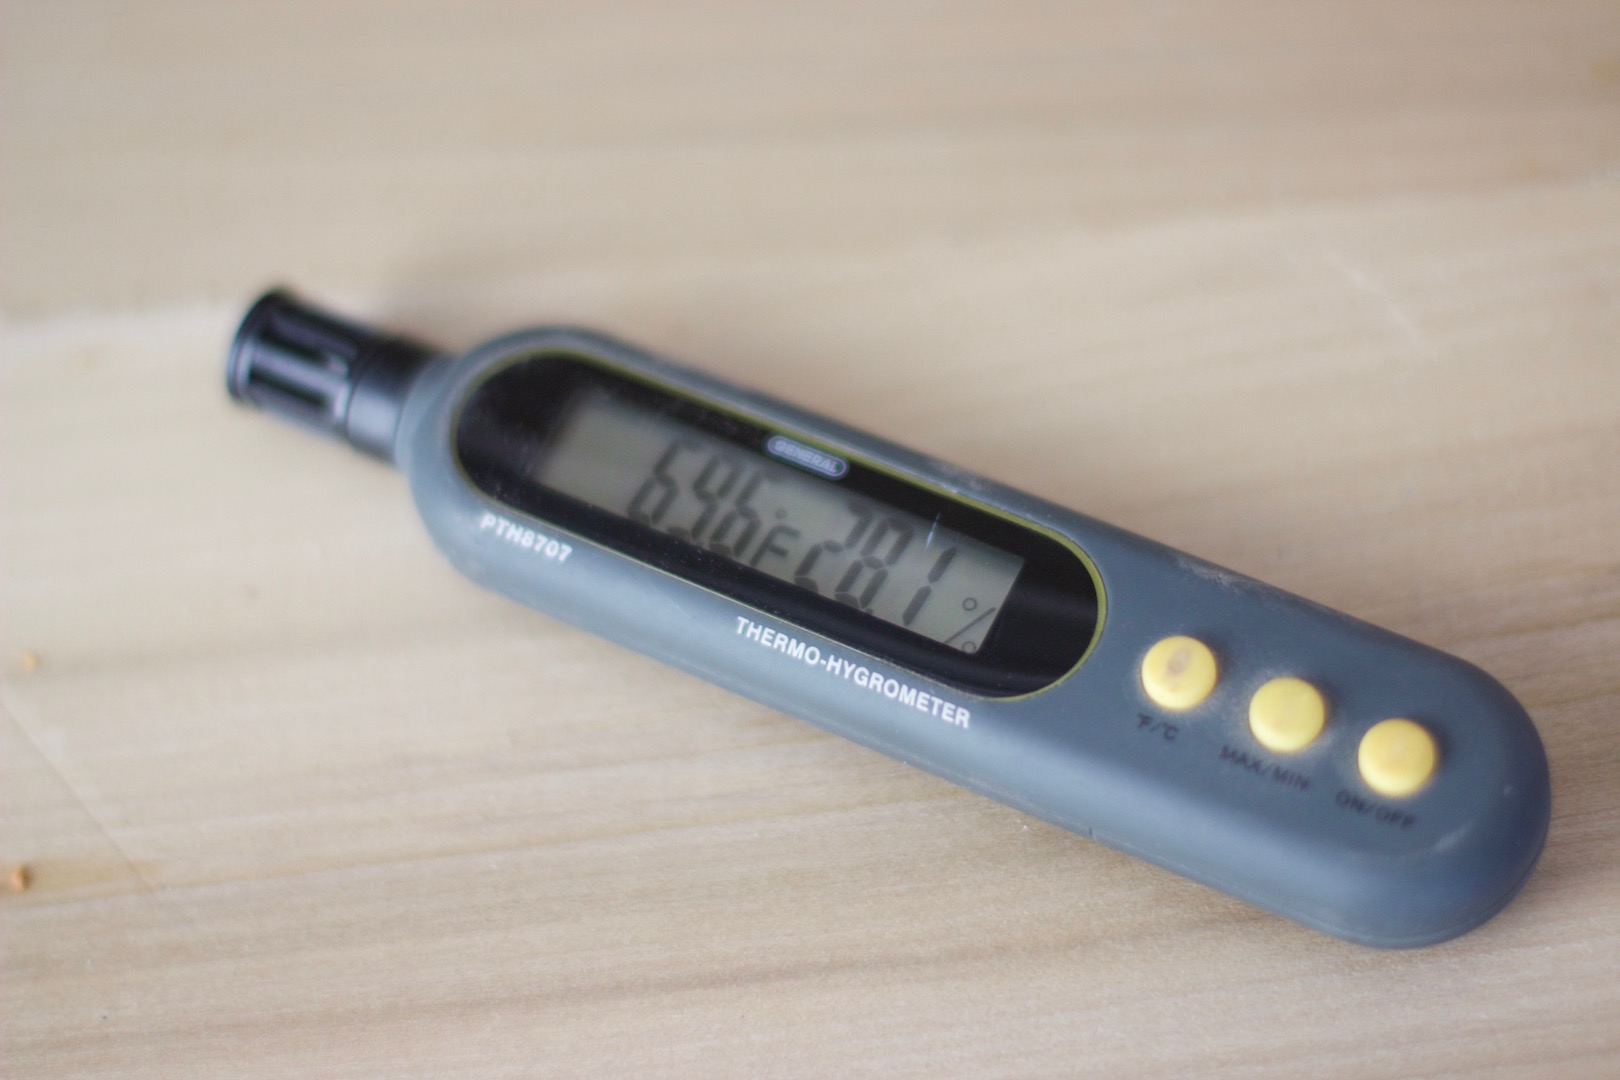
 Thermo - Hygrometer
Humidity - Using a hygrometer, take a reading of the relative humidity (RH) levels. Normal living condition RH levels is between 30-50% inside finished homes. Acclimate your flooring to normal levels and maintain the conditions throughout the year.
If, you acclimate your flooring to high levels. When the flooring dries out, you can have unpleasing gaps throughout your home. If, the flooring was acclimated to excessively dry air. The flooring will expand and cup during your high humid season.
How to install hardwood floor -
Damaged subfloor
Damaged sub-floors should always be repaired or replaced. This is the surface that you are fastening your hardwood floors onto. Cracks in concrete or wooden sub-floor should get repaired. Depending, on the size of the area. You can sometimes just install over small gaps, 6"- 8" wide.
If, The sub-floor is severely damaged, consider replacing it or re-sheathing. Replace your old sub-floor with new 3/4 tongue and groove Advantech or CDX plywood panels, both types of subfloor panels holds nail well. Advantech has moisture repellant in their product. Which will help prevent more moisture problems and swelling compared to regular OSB or CDX. You can also, add a layer of 3/8" cdx plywood. This will stiffen up your existing sub-floor and fix any minor issues.
Once, you have gone through and performed all these steps and is satisfied with your surface preparation work. Now, it's time to learn how to install hardwood floor. Choose a method of flooring installation below. Don't forget to click the "like and share" button, so, we can bring you more tips.
How to install hardwood floor : installation list
Choose the best types of sub-floor system for your concrete application.
Glue down flooring installation
Laminate Floating floor Installation
Hardwood Floor Installation Over Radiant heat
Reclaimed Wood Floor Installation
White Pine Wood Floor Installation
Recycled Wood Flooring Installation
Hardwood Floor Installation Images
Tips To Installing Hardwood Floors
Preventing Common Wood Floor Installation Issues
Choose an ideal company
You have done all the research and now have the knowledge. Don't choose the wrong flooring company.
Why work with average, when you can work with an ideal hardwood flooring company? Avoid opting for sub-par products, poor workmanship, the lack of industry knowledge and training for the sake of something new.
With G & S Floors, you will experience optimum personal service, with superlative, effective premium quality workmanship in the industry and high quality products. Homes are one of the biggest and most important investments and should be cared by an ideal company.
We've been in business over 19 years. We are a NWFA flooring contractor and follow industry standards and best practice for hardwood flooring installation, sand and finishing. We have access to training and ongoing professional development. We have a well trained staff and we never stop learning. We have a powerful network of talented professionals, distributors, manufactures and experts.
Invest in "Quality" for better service and hardwood flooring that can last a lifetime or centuries!

