Hardwood stairs
Hardwood stairs installed in your home is a great investment. It gives your house great character and it ties your main level to the other areas. Your staircase with the right appearance, it will invite your guest to the rest of your home.
Sure, carpet is warm and cozy, but over time dirt will build up on it. Then, the edges wear out so much, they get slippery, turning into a hazardous condition. Maintenance becomes labor intensive and costly. So swap that old carpet covered steps out, for nice shiny wood staircase. Hardwood staircase treads are available in unfinished and pre-finished wood. So you have a choice of which type you would like to use. Keep it simple and have pre-finished manufactured look, or put a little time in and make it a custom unique look. There are pros and cons to both choices.
Hardwood stairs - What you should know
Pre-finished or site-finished hardwood stairs
Pre-finished Stair Treads
- Pros: Prefinish wood staircase treads, requires no sanding or finishing. It requires less time to complete. All you have to do is install it, then fill the nails holes and your done. You don't have to spend the night, on the couch or in the basement or away in a hotel.
- Cons: When a 15 gauge pneumatic nail penetrates the hardwood tread's surface. Material bulges up, sometimes causes a splinter. You'll have to remove this or use a tapping block and hammer to set-it back down or sand it down. You have to be careful in handling it, during installation, to prevent scratches or any damages, otherwise you'll adding more work by sanding it. Some prefinished wood staircase treads do not come with a return. A Return is a finished end cap, piece that has a rounded edge, which gives it a finished look. If you have balusters that are installed on top of the stair tread. You'll need a return here. If, your prefinished hardwood stair treads cannot be purchased with a return, then you have to make one. Which requires sanding and finishing. No one like's unnecessary work, were trying to make things easy for ourselves. Customization is limited to what's available on the market only. Check with your local hardwood flooring supplier to find out, which species are available in pre-finished treads.
Site-finished Hardwood Stair Treads
- Pros: Site-finished hardwood stair treads are fully customizable. We can fabricate any parts needed. There's no wasting time, trying to find items that are not available. You can apply stain, to give it a more exotic look. Make your staircase stand out from the rest of the neighborhood. Apply a top quality finish, to get the protection we need. You'll be able to manage the quality of your own finish and not be limited to the manufacturer. There are bad quality prefinished hardwood out there. You can always prefinish, unfinished wood staircase treads, before you start the staircase installation. You can save time and it's less costly than prefinished stair treads.
- Cons: We get the dust storm, fumes and cannot use the stairs while it is being installed or finished.
Why oak?
They're always available. They're commonly found in just about any homes. You can purchase them, at a home center near you. If, you'll be installing your own staircase. You can use the money that you'll be saving on labor and upgrade on your handrail system, if you like.
Installing Wall to Wall hardwood Stairs
Tools and Materials
Tools and Materials you need for installing hardwood stair treads are:
- Stair Tool - You'll need this tool to make templates of each step - there is never a perfect square tread. If, you don't own one, you can use construction paper to make a template of each step. Learn how to make a template on staircase winders below.
- Sliding Miter Saw - You can sub this with a jig-saw and belt sander also. You can rent these installation tools from your local tool rental, If you don't own one.
- Table Saw - You'll need this tool to make relief cuts or sometime rip stair tread width down to size. Treads are mostly sold at 11 1/2" width x 48".
- 15 Gauge Finish Nailer - Use a pneumatic finish nailer, if possible, this can be rented. Otherwise, sub this tool with a power drill and drill. To drill pilot holes, 1/16 drill bit, 16 gauge 2 inch finish nails(galvanize or stainless), and hammer.
- Brad nailer - For Scotia moldings, trims and small pieces
- Liquid Nail - Use a high quality polyurethane glue. This is what will be holding your hardwood staircase tread in place.
- level - Use either a 12" bullet level or a 24" level.
- Carpenter's Shims - These are only around $3.00 a pack. If you're working with an old set of hardwood staircase, you'll need a lot.
- Hammer
- Pry bar - You'll need a flat pry bar and if applicable a pry bar that is of long length - 36". Which will give you more leverage when removing the stair tread.
- Anvil Plier and Tack nail remover
- Pencil
- Utility Knife
- Wood Glue
- Misc. items - Nail set, Blue painter's tape, scriber or scribe block, latex wood putty and putty knife.
- Hardwood Stair treads - A standard set will consist of 12 stair treads, 13 risers, and 1 stair nosing.
- Scotia Molding - Use a 1/2"x3/4" scotia. This will have a wider front reveal, which will stand out more than a 3/4"x3/4" scotia. It will add more of an architectural look.
Installing Stair treads: Let's get started
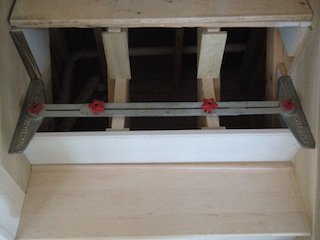 Using a stair templating tool to measure the width and angle of your steps
1. Remove carpet and tack strips. If, the hardwood staircase riser's (front piece) are in good shape, then de-nail and prepare for refinishing or painting. Use an, anvil plier and tack nail remover to remove the carpet staples and any unwanted fasteners. Use a rolling action, with your anvil pliers, to prevent fatigue.
Tip: Always, pull staples and nails the same angle it was put in. If, you work against this angle, it will only make the job tougher.
Depending on, how the original hardwood stair tread installation was assembled. It can be either treads butted to the riser or the riser sitting on top of the stair tread. This will determine whether you start at the top and work down or vise versa. In this installation guide it will be a bottom to top.
2.Remove the first starting step, use a flat pry bar and hammer. Take the hammer and give it a whack on the front edge, to raise it a little bit. Once, you've raised the hardwood treads a little. Use a long pry bar to finish removing the tread, you'll be able to do this with very little effort. De-nail and clean. Check your stair tread stringers to make sure, it's level, on the width and length, front to back and side to side. Use either your bullet level or a 24" level.
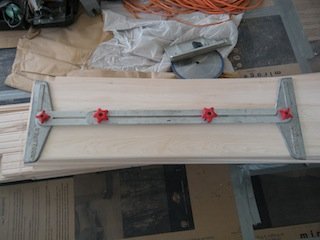 Transfer your jig over to your work piece and mark it with a sharp pencil
If, the staircase stringers are not leveled, adjust with shims. Find the highest point and shim all stringer height to this point.
3.With your Stair Tool, make a template of your tread. Adjust the stair tool tight to your side boards. Your stair tool should be touching the front of the riser and the 2 side boards (left and right). Lock your Stair tool in place, then carefully remove it. Careful not to hit any other surface, with the stair tool. This will result in an error and a miss cut, money out the window .
4. Place the stair tool same way you template your step, on your replacement hardwood staircase tread. Choose a good side to trace your template onto. This will be the top of your tread. Most stair treads are pre-sanded on one side, just look for sanding marks. If, you purchased reversible hardwood tread, choose the best side. Mark your piece, then, put a marking on the keeper side of 1 corner, use the marking for identification for when you have to make a re-cut. With the same template, mark your Scotia to length, also.
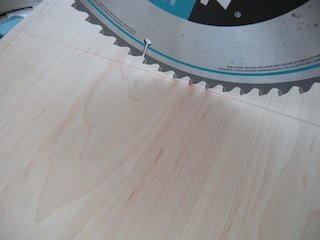 Lasers make it easy to line up your saw blade with cut marks
5. Using the miter saw. Cut the sides of your tread. Be sure to adjust the angle of your miter saw to cut your traced outline. Before you make that cut, make sure you have the saw blade on the correct side of the line. Otherwise, you will be making a costly mistake. The saw blade should always be on the waste side. During this time, cut your Scotia molding, also.
6. Test fit your hardwood treads, before permanently installing it. Make adjustments, if needed. Sometimes it's difficult to make a hairline cut. Instead, use a belt sander with a coarse grit abrasive, to make tweaks. Some side boards, maybe cupped and curved, compensate for the error, leave a little extra. Scribe it, then, use the belt sander to sand to fit, for your staircase installation.
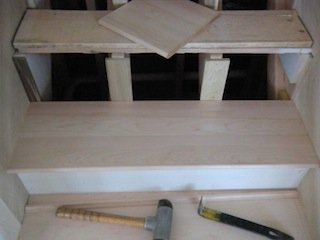 Dry fit your tread, make adjustments as needed
7. If, the back of the tread does not rest tight to the face of your riser, this also should be scribed. Before doing so, check your edge overhang. Maximum overhang is 1 1/2", check with your local building code on your stair installation, to find out actual dimension.
To figure out your overhang dimension. It should be the width of your scotia (example: 1/2" x 3/4" scotia, width ='s 1/2") + radius of your front edge(3/4" thick tread, radius = 3/8")+1/8" reveal = 1". Your tolerance for error should be kept within +/- 1/8". Generally being said, your staircase installation, overhang can be anywhere from 7/8" - 1 1/4", for a 3/4 thick stair tread.
Tip: Make a depth gauge out of scrap material. To check your staircase installation overhang. 2 pieces of wood that forms a 90 degree angle with one side measuring the maximum depth allowed - 1 1/8".
Place it on the front edge of your hardwood staircase tread. At the correct depth, your gauge should touch both the front edge of your treads and the front of your stair riser (below). Scribe and cut your treads to the proper width. Your finished tread width should be, the measurement from the front of your starting riser to your second riser + your overhang.
Example: Riser to riser = Tread width(9 1/2" + 1 =10 1/2") Finish width equals 10 1/2"
Check with your local building code to find out what minimum and maximum width requirements allowed. Normal stair tread width are 10 1/2" and 11 1/2". Minimum hardwood stair tread width is 9".
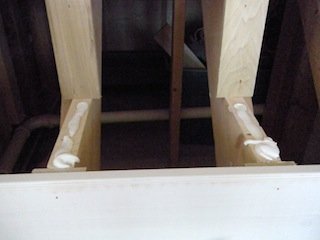 Use a temperature sensitive subfloor liquid nail for your glue and nail assist installation. The glue will cure in cold temps and will help prevent squeaks.
8. Mark the location of your stringer on your riser. Apply a generous amount of liquid nail onto the hardwood staircase stringers. Place the tread in place, then install 2 nails per stringer. Then install your scotia molding, using a brad nailer to fasten it in place.
Note: The stair tread only needs to sit tight, on your stair stringers, for your hardwood staircase installation. Gaps along the front can be covered up by your scotia molding. Consider raising your riser or adding a filler strip, if the gap is wider than the width of your scotia molding.
Note: Do not be concerned with squeaks at this time. As long as you applied enough adhesive. When this sets up, it will eliminate your squeaks.
9. Repeat, steps 2 through 8, until you've reached the top.
10.Cut in your stair nosing and scotia. The overhang of your stair nosing should be the same as your tread overhang. Fill your nail holes then sand and finish.
That's all there is to it. If, you have an "easy" button, push it.
A wall to wall hardwood stair treads installation is the easiest to install, of all staircase installation.
You can also pre-finish you treads, before installing them. You'll then, be able to use it right away. You can use this same templating technique, for your stair risers.
Tip: If, your risers have a damaged surface and you are planning to paint it. An inexpensive fix to your hardwood stair treads, is to give it a face lift, by cutting an 1/8 piece plywood and installing it to fit over your riser, then paint it.
Do you have a set of hardwood stair winders in your home?
Keep reading to learn how to construct and install your own hardwood stair tread winders,
Hardwood stairs step by step
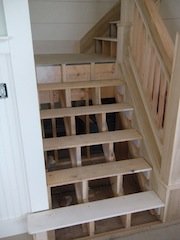
Newly framed stairs with temporary stair treads

Using your stair tool, create a template of the width and angle, needed for your tread.

Place your stair tool, on top of your tread and trace out the template.

Cut the treads, using a sliding miter saw, be sure to have your saw blade on the correct side.

Test fit your stair tread, it should fit snug and not force the sides out by more than a hair line.

Apply a generous amount of temperature sensitive polyurethane glue.
This will fill in any void,cure under cold temperature and prevent squeaks.
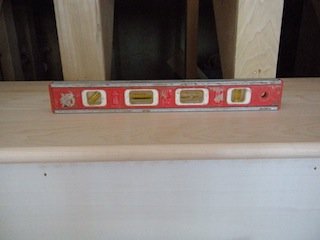
Check for level along the length, adjust by shimming.
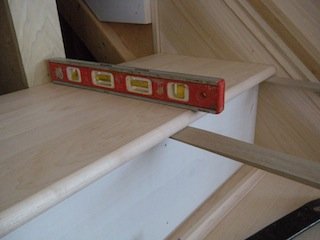
Check for level along the width, adjust with shims. Shims should slide between glue.
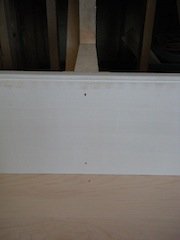
Apply 2 finish nails per stringer, along the front and back edge.
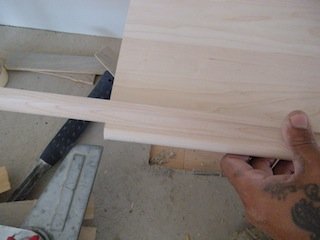
Measure your scotia to the front edge of your tread, then cut.
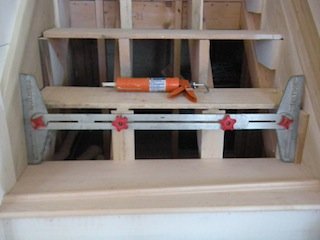
Template your riser using the same method
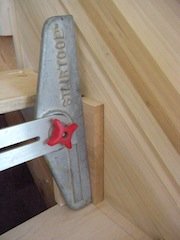
If, your side skirts have moldings that extends beyond the main surface.
Use a scrap block to offset the surface out, so that you can scribe it.
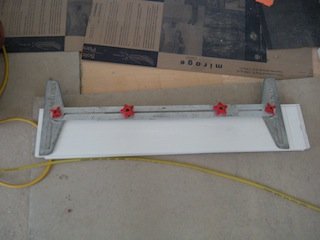
Place your stair tool on your riser stock and make your markings. If, you offset any surfaces out, be sure to include the thickness on the proper side of your template. Otherwise, you'll end up with a short unusable piece.
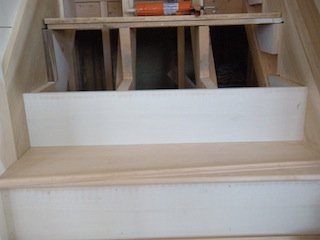
Test fit your riser, make adjustment as needed.
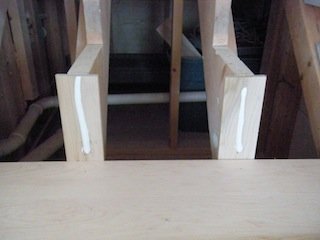
Apply polyurethane glue to your stringer. Then install your riser in place.
Apply 2 finish nails per stringer, along the top and bottom edge. Sand and finish using NWFA standards.
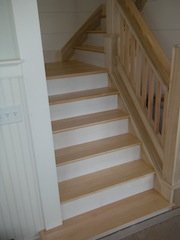 Clear Maple Hardwood treads
 with painted risers
Quincy, Ma.
How to build a staircase winder tread
Staircase winders are triangular stair treads on staircases. It is commonly found in sets of three and is used when there is not enough space to make straight runs. Installing a hardwood staircase winder will bring out the true carpenter in you. You can purchase pre-made slabs then cut them in. If, you make a mistake, it will be an expensive mistake. Slabs start $150.00 and goes up from here. I prefer building my own, this way I don't have to wait on special orders - particularly exotic hardwood species, and I'll save money for both my customers and myself.
Tool and Material List
Tools and material you will need are:
- Hardwood Stair Treads - You will need 2 1/2 stair tread to create 1 staircase winder. It's easier and quicker to use hardwood stair treads, to construct your winders. It takes very little work to square them up. For a set of (3) winders, you will need 8 stair tread.
- Scotia Molding - Measure the front of the existing tread to determine the linear footage needed.
- Block Planer or Power Planer or Jointer - Squaring up the edge, it will be easier with a power planer, for working on site.
- Kreg Jig - Using a Kreg jig will be <b>quicker to assemble the slabs. Otherwise, You can glue and clamp, you'll need 3 36"clamps each.
- Kraft Paper - I normally use left over, flooring underlayment (rosin paper). You can use any type of material for tracing.
- Liquid Nail - temperature sensitive subfloor adhesives
- Utility Knife
- Scribe Block - You can use any size greater than 1 inch. Use a scribe block not a scriber.
- Tape - blue painter's tape
- Measuring Tape
- Pry Bar
- Pencil
- Table Saw
- Jig Saw and Belt Sander
- Wood Putty
- Brad Nails
- And any tools deem necessary
Winder Construction Procedure
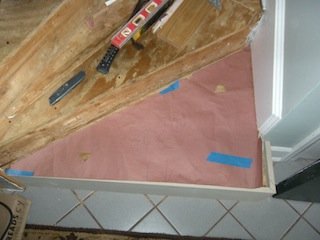 Use kraft paper to make your templates. Make triangle cut-outs so you can stick blue painters tape to keep the template from sliding around.
1. Start by making a rough template of your existing staircase winders. Use the rosin paper, for your template. This does not have to be exact. It's only a rough template, for our slab. Label each template, top1, top2, and top3. Don't forget to label the front.
2. Starting with your largest template. Line up 3 stair tread together. The middle piece, should be sq. 4 sides, first.Do that by ripping it on your table saw. Only remove the rounded edge. Afterwards, use a block planer to square the cut edge. If, you have a power planer, use this tool with it's guide, to keep this edge square to the top face. If, you have access to a jointer that's even better.
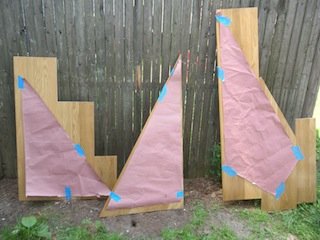 Glue up your slabs
3. After you've squared up the middle piece. Re-assemble the 3 treads. Place the template on top, align the front edge to the front label. Adjust your pieces accordingly to minimize waste.
Note: You maybe able to use a good size piece of waste for your other slab.
Now, trace your template onto your staircase winder material. Make marks on the face of the winder to locate your fastener. This mark should be on both sides of the joining joint. Example: edge 1&2a, 2b&3, 1 represent front piece, 2 = middle, 3 = back piece. They should be 1 inch minimum away from the cut edge and 6 inches apart.
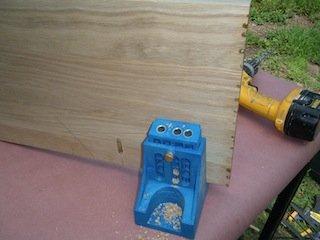 Use a Kreg jig to drill holes on the back of the treads.
4. Using your Kreg Jig, pre-drill your mounting holes for your staircase winder tread. Pre-drill holes from the underside of your tread. Holes should be drilled on edge 2a and edge 3.
5. Apply a generous amount of wood glue to joining edges 1 and 2a, then fasten with screws. Then apply glue to joining edges 2b and 3 and fasten with screws.
6. Repeat steps 2 through 5 for remaining 2 winders.
Cut and install staircase winder
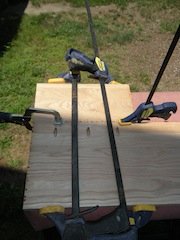 Glue, screw and clamp your slabs together and allow to dry
7. Remove existing old stair winder. Clean, check for level and adjust if necessary, then prepare for installation
Tip: It maybe easier to remove tread in small broken strips than 1 large tread.
8. Make triangle cut-outs in three locations. Preferably, near the corners of template. Using the cut-outs, tape your template onto winder frame.
 Stick the template back on the winder frame
Leave roughly 1/2 to an 1 inch of spacing, between template and scribing surfaces. This should be any surface that the winder must rest tight on. Secure the template good. You need to get an accurate scribe in order to have a proper cut staircase winder.
9. Using a utility knife, trim off, any template material hanging off the front edge. Trim it flush to the front edge of your riser.
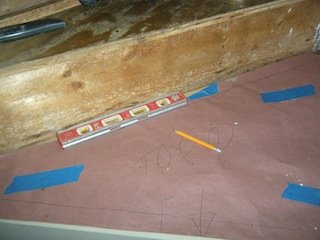 Using your scribe block, scribe the shape of the winder onto the kraft paper. We used a bullet level as our scribe block.
10. Using the scribe block, scribe and make reference lines along all surfaces. In our photo we used a bullet level.
11. Remove template, then attach it to the proper winder slab.
Tip: Before attaching your template. Make a overhang reference line to the front edge of your winder. You can get this dimension from your existing stair tread, This should between 1 and 1 1/2".
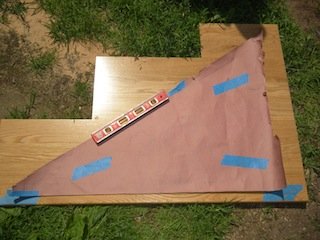 Place the template on the corresponding slab.
And transfer your scribe onto it.
Align the front edge of your template with this reference line. Secure down template with tape. Place your scribe block on the reference lines you've made on the template and trace it onto your hardwood staircase winder.
12. Cut out your winder, using a table saw or jig-saw. It will be more accurate on the table saw, becareful of kick backs.
Tip: If, you make your cut with a jig-saw, leave a little material, then finish it with a belt sander. You may need to make relief cuts on some edges, set your blade at an angle to make your cut.
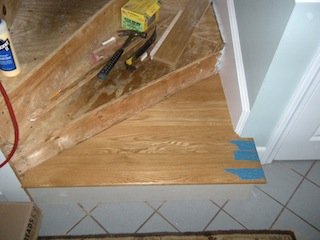 Test fit your cut-out, tweak as needed, then apply a generous amount of temperate sensitive polyurethane subfloor adhesive and a few nails
13. Test fit your hardwood stair winder, adjust if necessary. Apply a generous amount of polyurethane liquid nail on your winder frame. Glue should be applied to all nailing surfaces. If you have a plywood winder box frame. Apply a generous dob of adhesive in any areas, that maybe a void.
14. Mark location of your stringers onto adjacent risers, front and back.
15. Install your hardwood staircase winder, and apply nails along stringer locations.
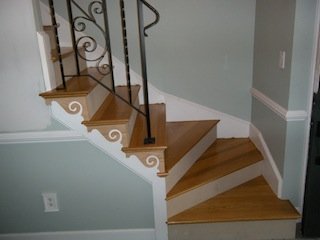 Staircase winder with decorative sides and iron handrail system
16. Repeat steps 7 through 15. for remaining hardwood staircase winder installation.. Then cut and install your scotia molding with brad nails.
17. Fill nail holes, sand and finish.
Enjoy your new stair winders! Plenty of carpentry knowledge to learn here. Now, you have the know hows of constructing and installing a hardwood staircase winder. If, you have questions, contact us. Did you find this article helpful? Don't forget to click "Like" and "Share", so we can bring your more helpful information.
Don't have a hardwood staircase tool, You can purchase one at The Stair Tool.com
Hardwood stairs
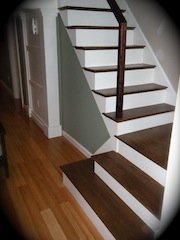 White oak staircase with
 Jacobean stain
Lynn,Ma
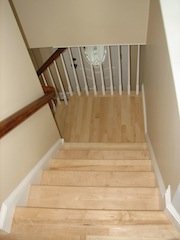 maple staircase with
 Trek plus polyurethane finish
Wakefield, Ma.
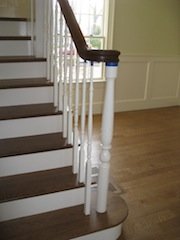 White oak stairs with
 2 part Provincial and
1 part English Chestnut stain
Wellesley, Ma.
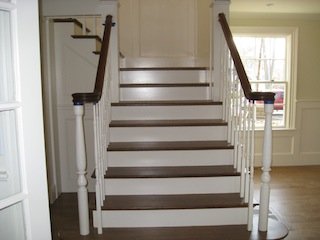 White oak stairs with
 2 part Provincial and 1 part English Chestnut stain
Wellesley, Ma.
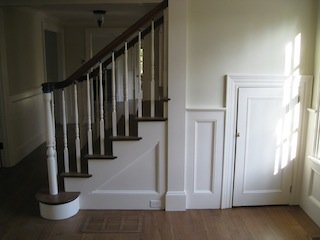 White oak stairs with
 2 part Provincial and 1 part English Chestnut stain
Wellesley, Ma.
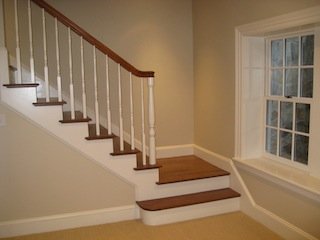 white oak hardwood stair
 with Provincial stain
Wellesley, Ma.
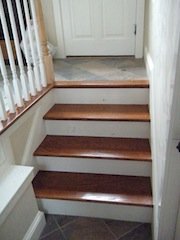 Mud Room, Ceramic tile to Red Oak wood staircase with Cherry stain
Wellesley, Ma.
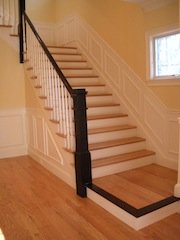 Red Oak stairs with Oak post and hand rails painted black with aniline dyed nosing
Lexington, Ma.
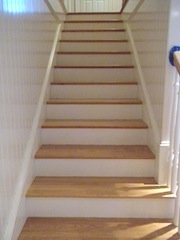 Red Oak stairs with Oak post, hand rails with white spindles.
Wellesley, Ma.
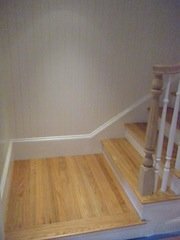 red oak staircase
Wellesley, Ma.
 Clear Maple Hardwood treads with painted risers
Quincy, Ma.
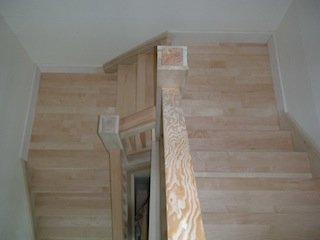 Clear Maple wood staircase with painted risers
Quincy, Ma.
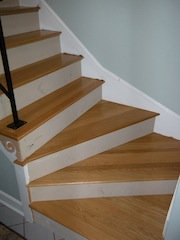 Pre-finished white oak treads with pre-primed risers and custom stair winders
Tewksbury, Ma.
 Pre-finished white oak treads with pre-primed risers and custom stair winders
Tewksbury, Ma.
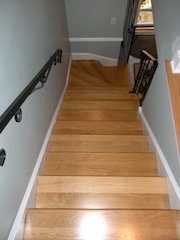 white oak wood staircases
Tewksbury,Ma.
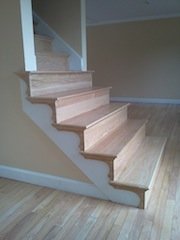 Red oak staircase with
 Trek plus finish
Merrimac, Ma.
Hardwood staircases
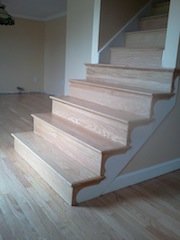 Red oak stairs with Trek Plus finish
Merrimac, Ma.
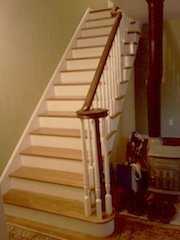 White oak stairs with
jacobean handrails
MIlton, Ma.
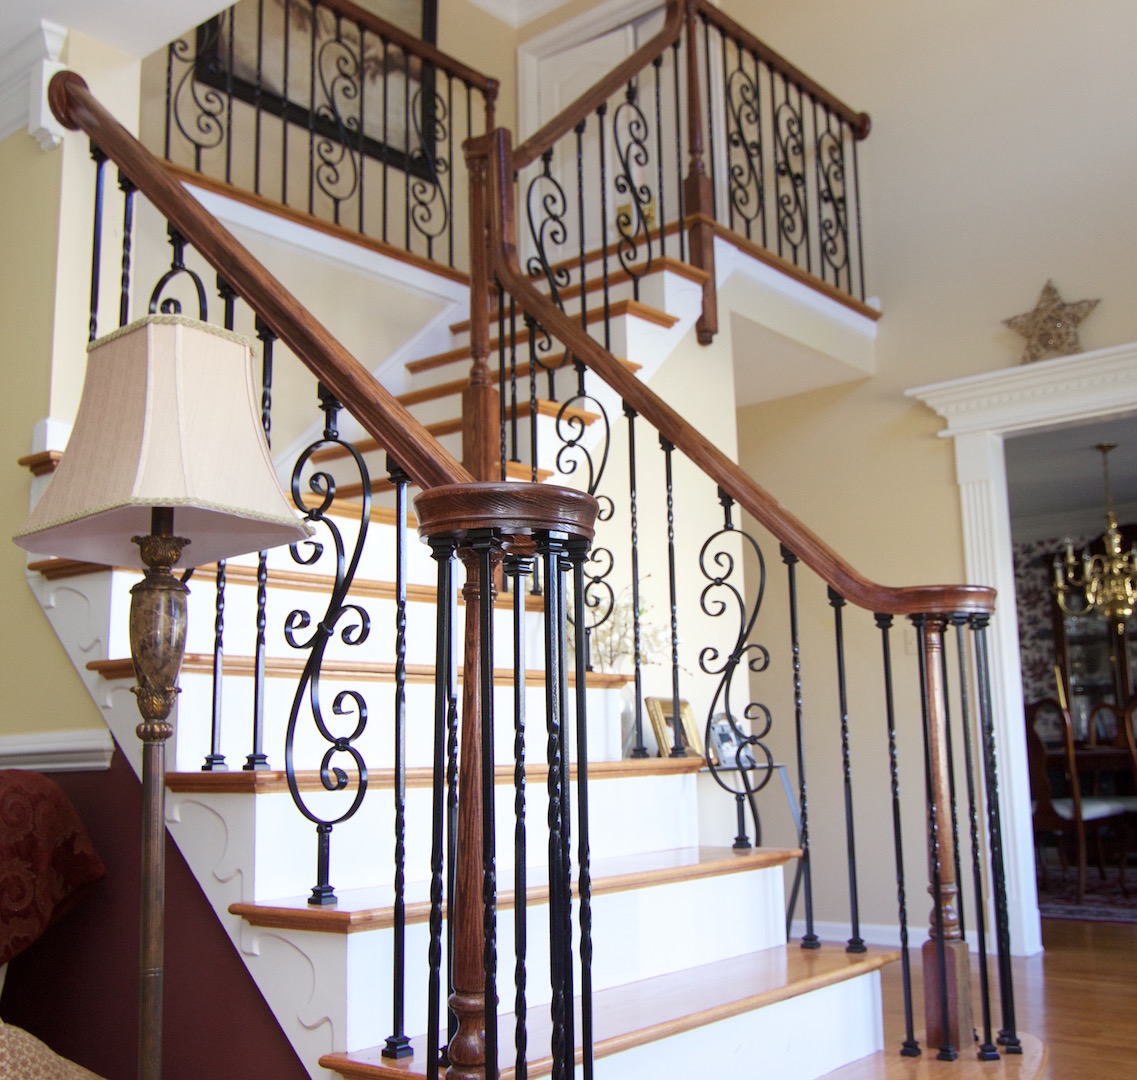 White oak stairs with gunstock stain
and mahogany stained handrail
Sharon, Ma.
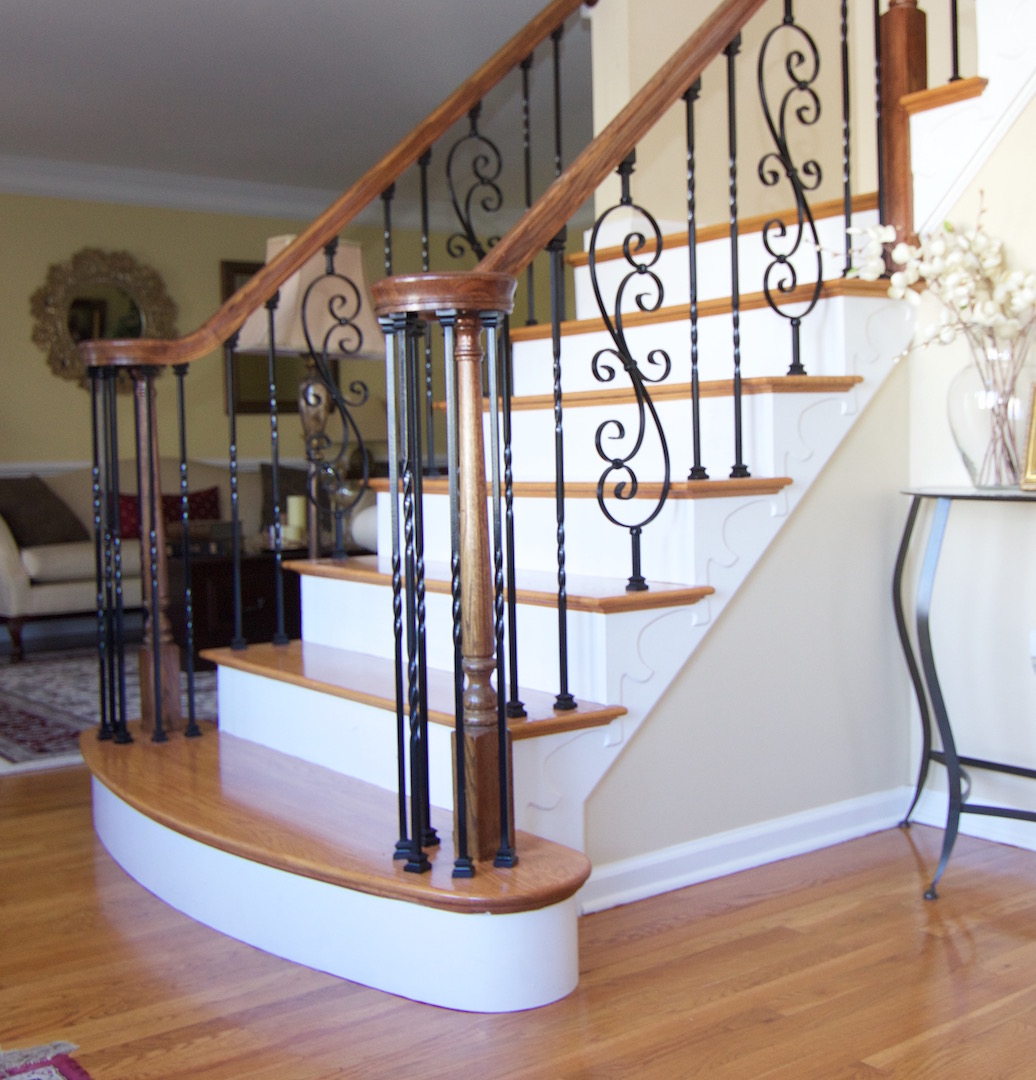 White oak stairs with gunstock stain
and mahogany stained handrail
Sharon, Ma.
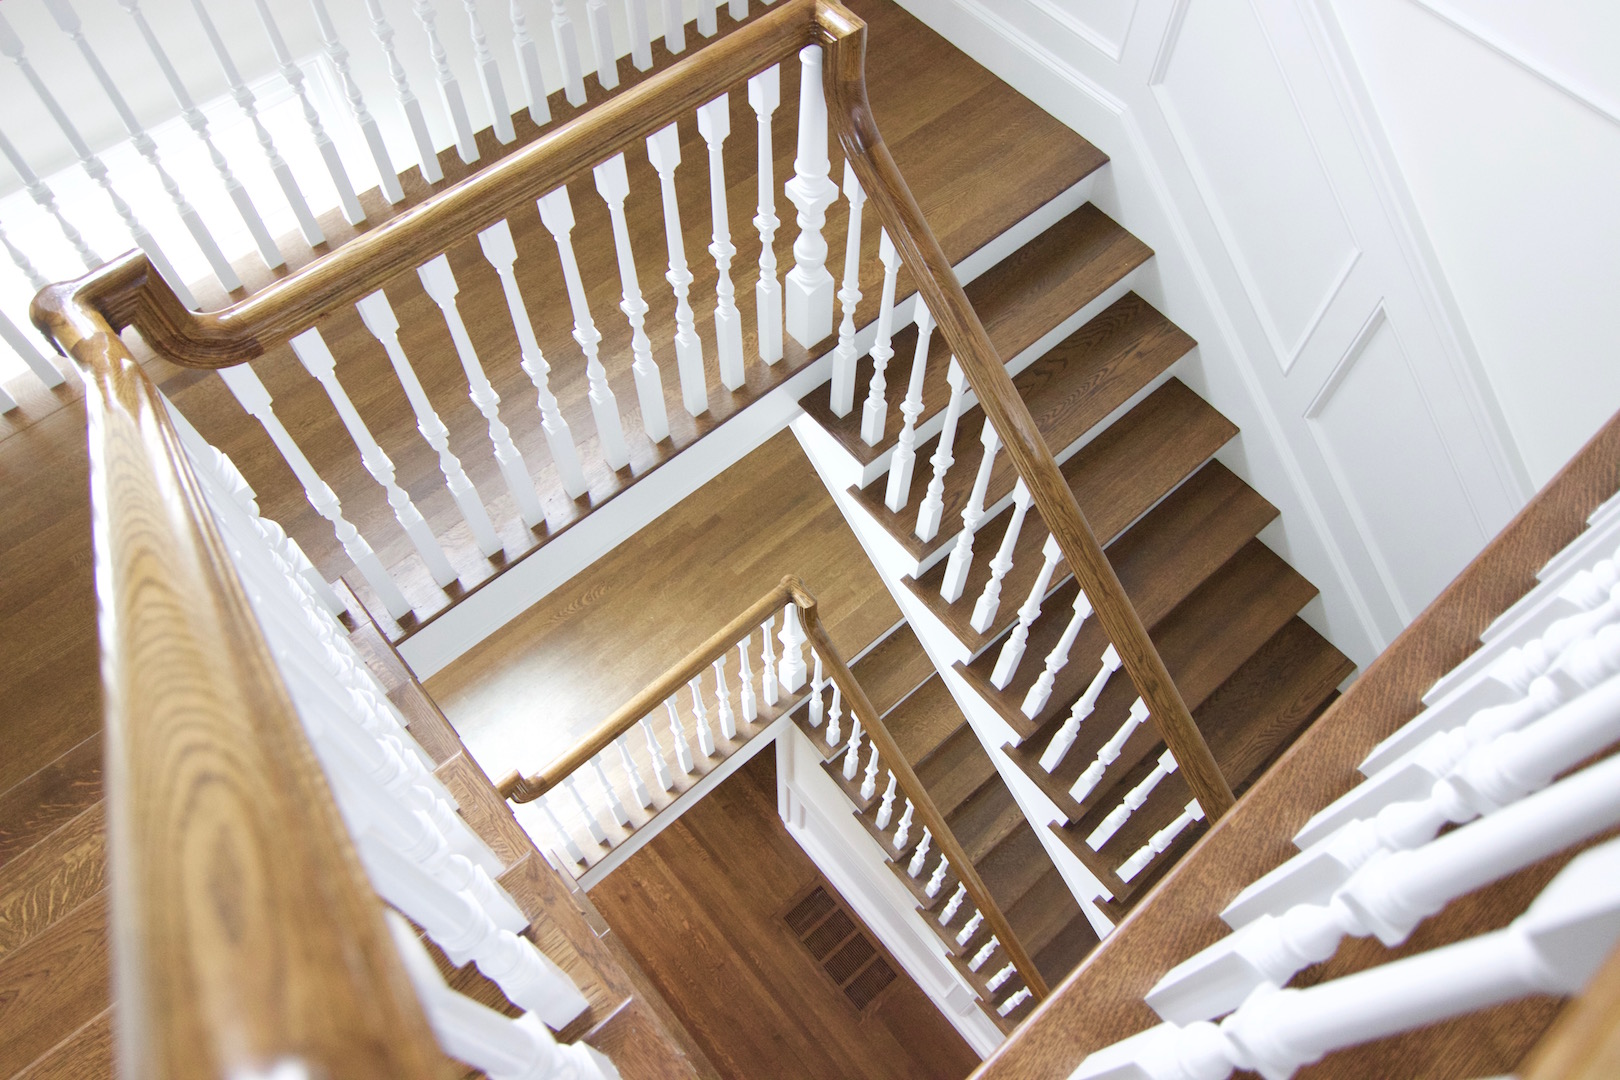 White oak hardwood stairs with antique brown stain
Top coated with 3 coats of Poloplaz Primero satin
Winchester, Ma.
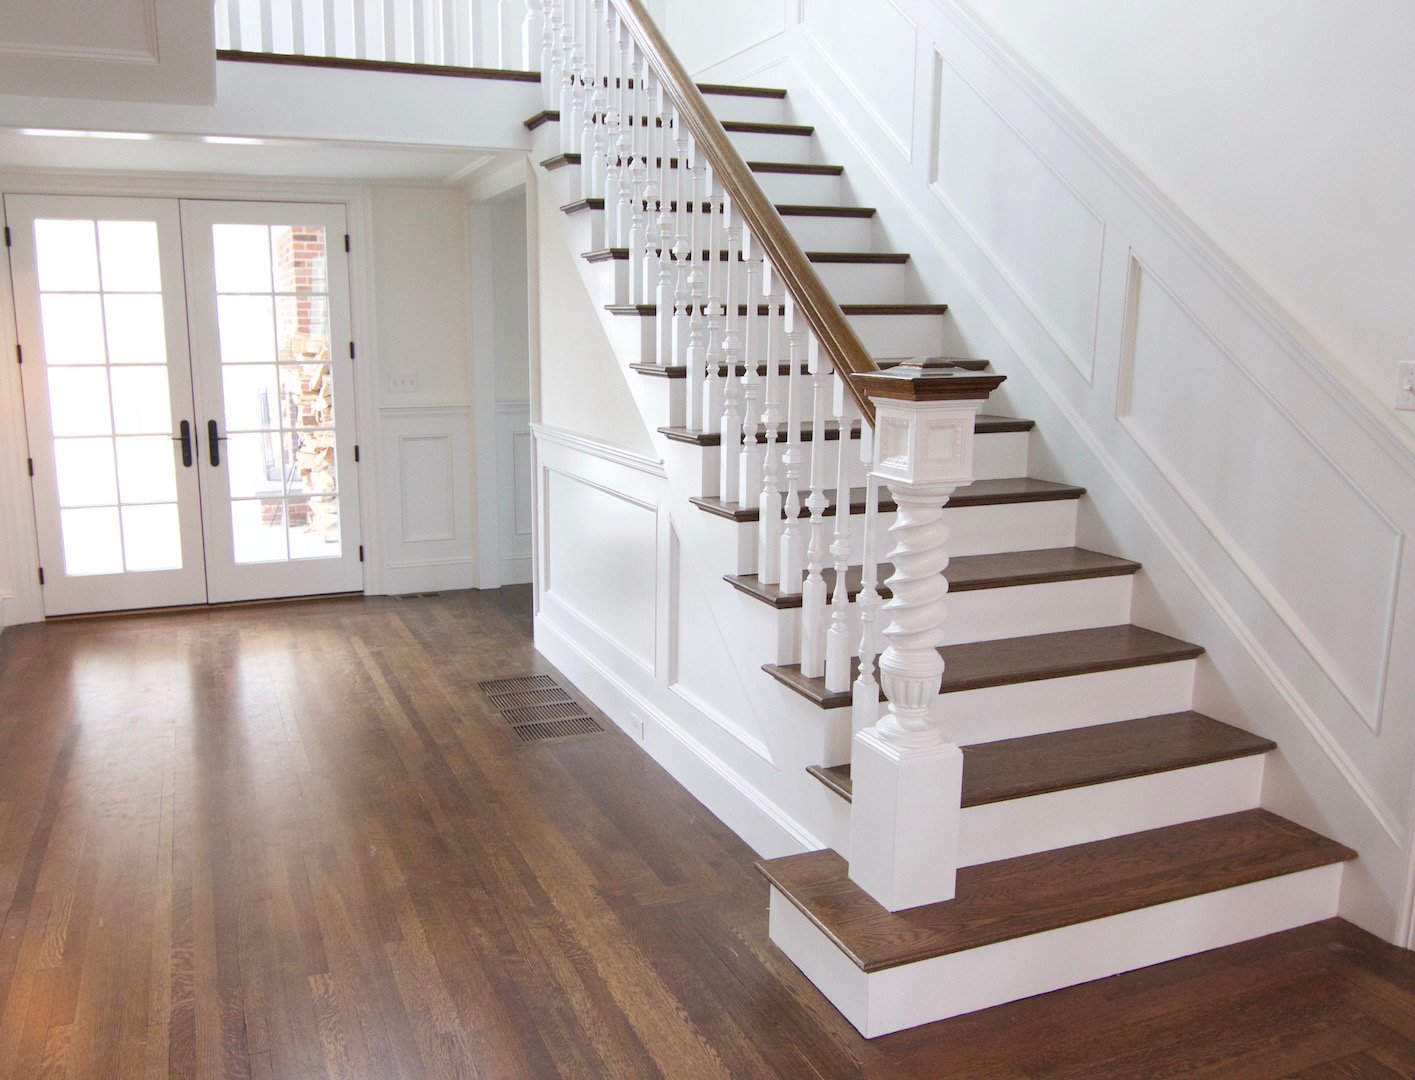 White oak hardwood stairs with antique brown stain
Top coated with 3 coats of Poloplaz Primero satin
Winchester, Ma.
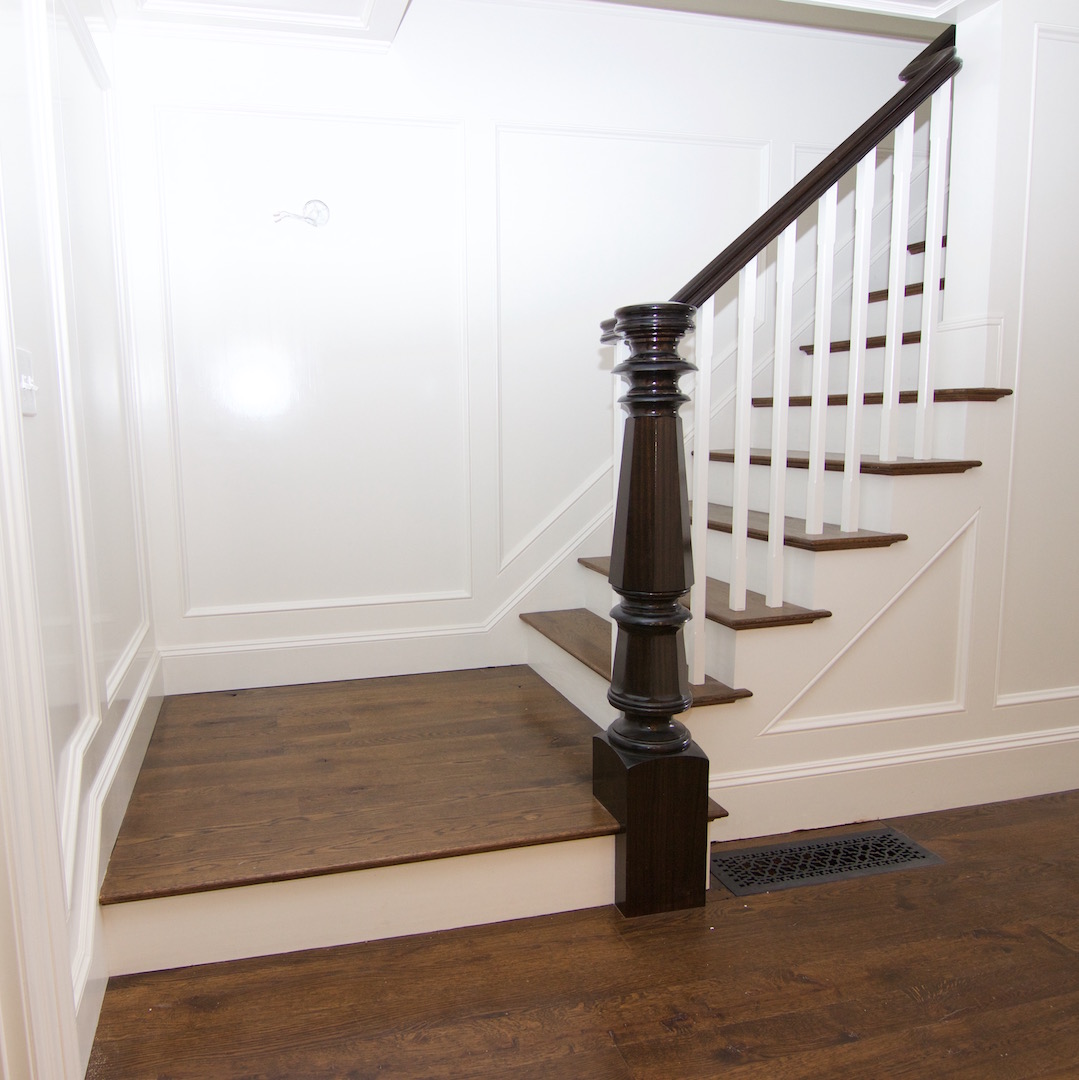 White oak hardwood stairs with
 antique brown stain
Top coated with 3 coats of Waterlox Original sealer and 1 coat of Waterlox satin
Weston, Ma.
 White oak hardwood stairs with
 antique brown stain
Top coated with 3 coats of Waterlox Original sealer and 1 coat of Waterlox satin
Weston, Ma.
 Red Birch staircase spray stained with General finishes dark brown aniline dye and espresso water base stain top coated with 3 coats of Bona Woodline
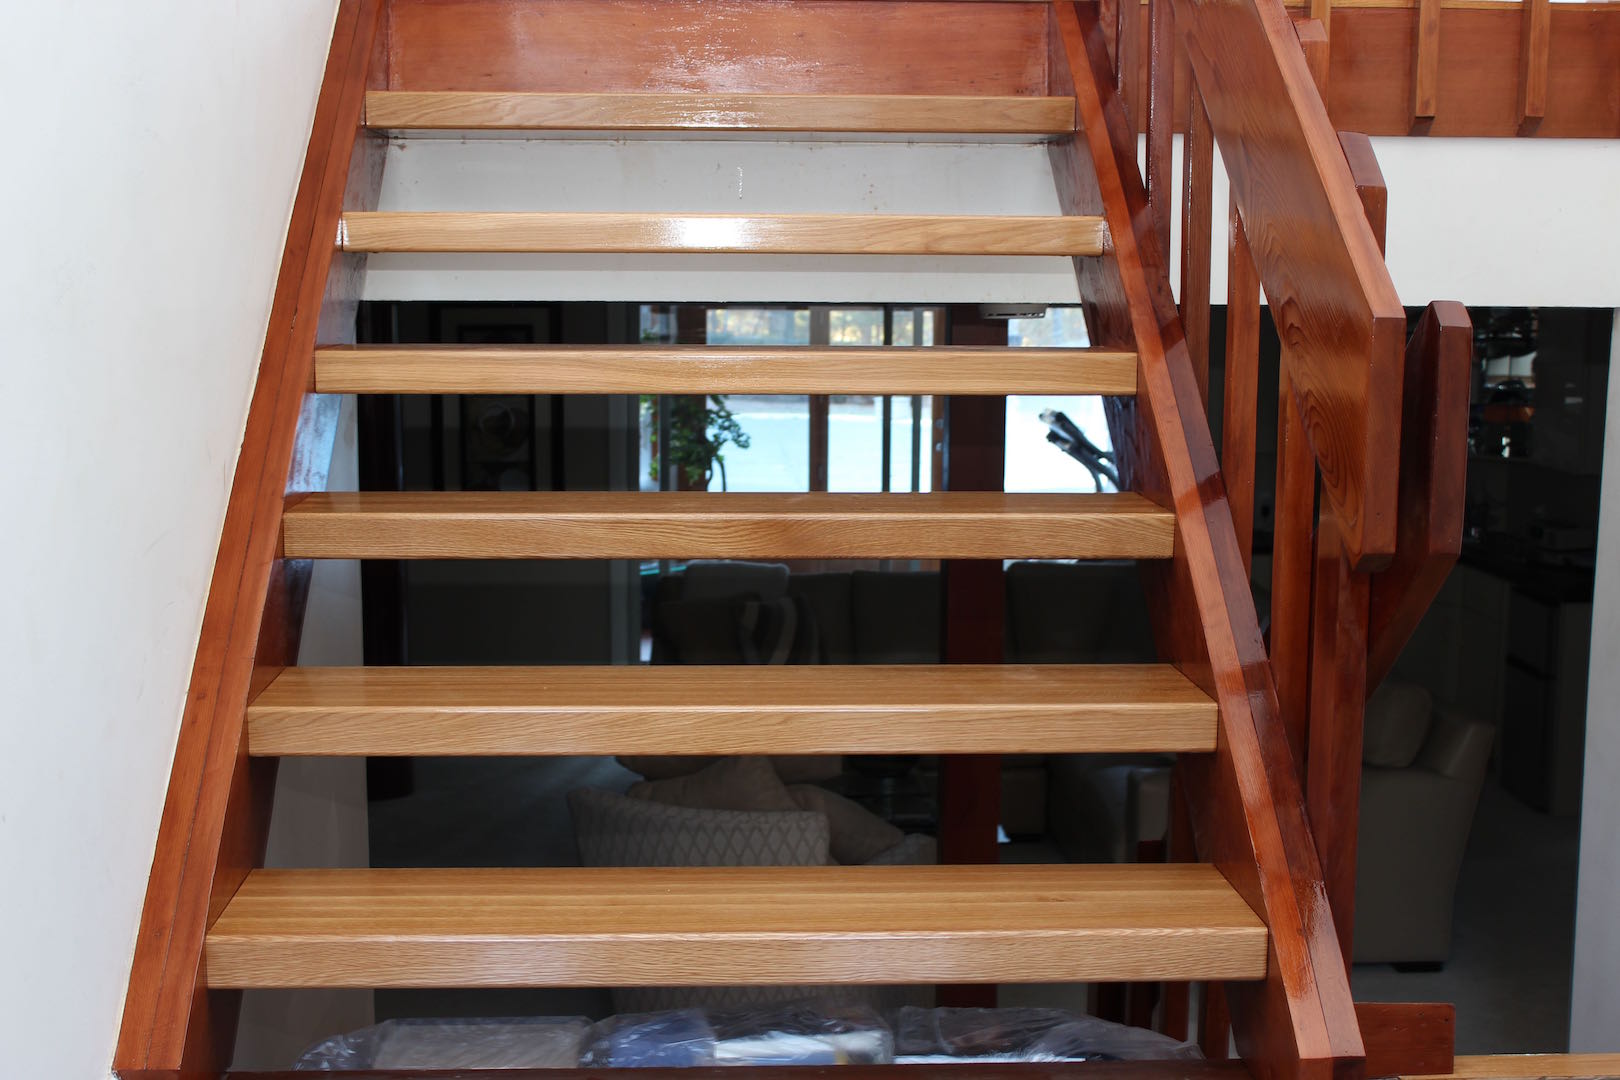 2 1/2" White oak staircase top coated with
 3 coats of Bona Woodline polyurethane
Sharon, Ma.
 White oak stair tread with a double bull nose starting step. General Finishes dark brown aniline dye top coated with 3 coats of Bona woodbine polyurethane
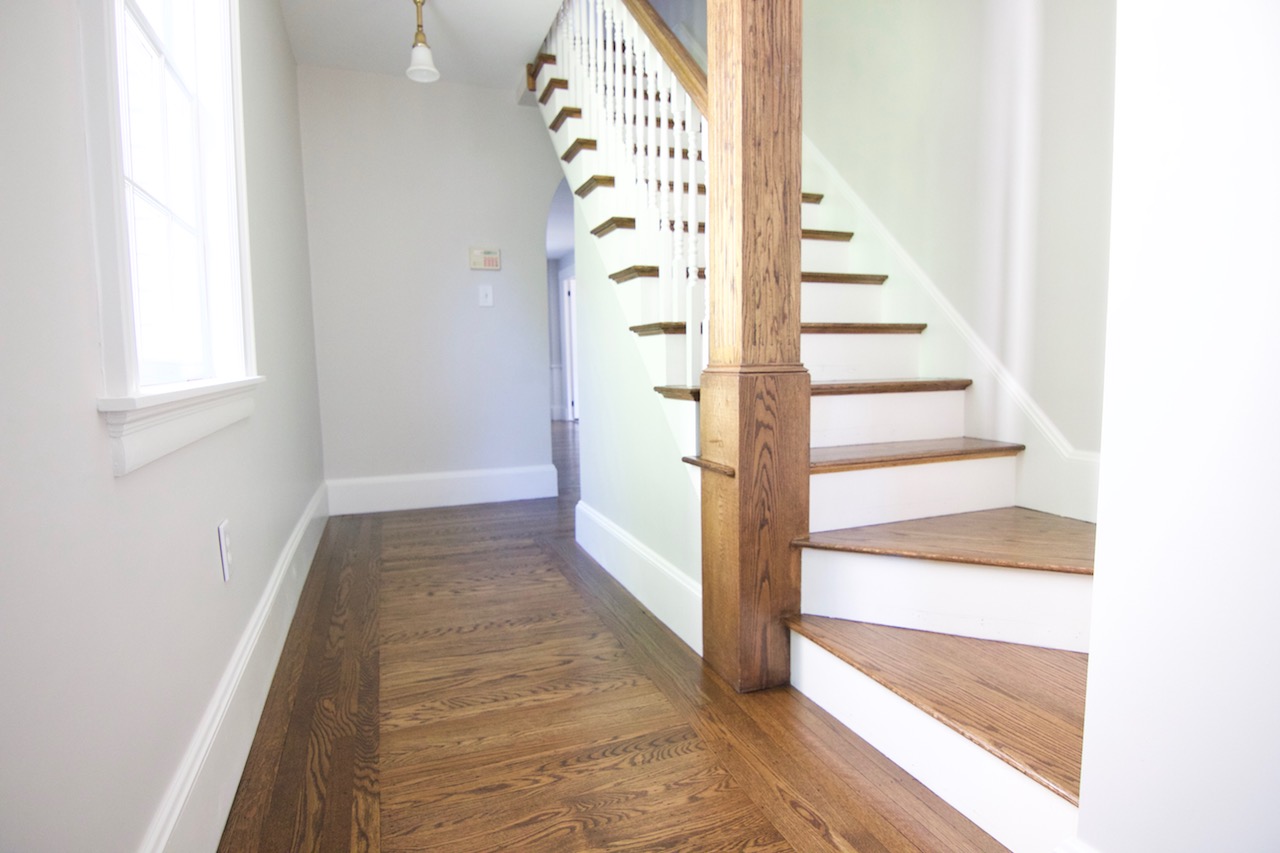 White oak stair treads with Bona Antique Brown (water popped) Top coated with 3 coats of Poloplaz Primero satin
 Dedham, Ma.
Choose an ideal company
You have done all the research and now have the knowledge. Don't choose the wrong flooring company.
Why work with average, when you can work with an ideal hardwood flooring company? Avoid opting for sub-par products, poor workmanship, the lack of industry knowledge and training for the sake of something new.
With G & S Floors, you will experience optimum personal service, with superlative, effective premium quality workmanship in the industry and high quality products. Homes are one of the biggest and most important investments and should be cared by an ideal company.
We've been in business over 19 years. We are a NWFA flooring contractor and follow industry standards and best practice for hardwood flooring installation, sand and finishing. We have access to training and ongoing professional development. We have a well trained staff and we never stop learning. We have a powerful network of talented professionals, distributors, manufactures and experts.
Invest in "Quality" for better service and hardwood flooring that can last a lifetime or centuries!

